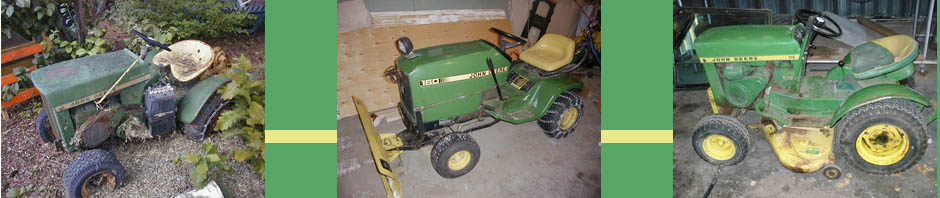
Well, took a sorta-part-day-off, did some landscaping, and decided I was going to try to get moving on Wally. He’s been feeling so lonely, sitting by himself under his sunshade…
since I was at a bit of a standstill, because the rings, which were SUPPOSED to be here LAST Wednesday, still weren’t here this morning. So I phoned the NAPA people, said I wanted my money back, because Mother Deere could have a set of rings to me by tomorrow PM if I ordered them this morning… Miraculously, by ten o’clock, my rings had “arrived” at NAPA. Hmmmmm. Even tho, when I went in after lunch, it STILL took them 15-20 minutes to find them… So back home and into the garage to get a bustle on…
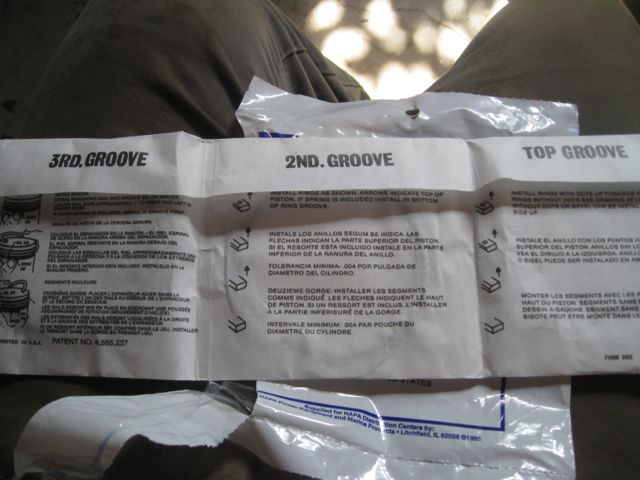
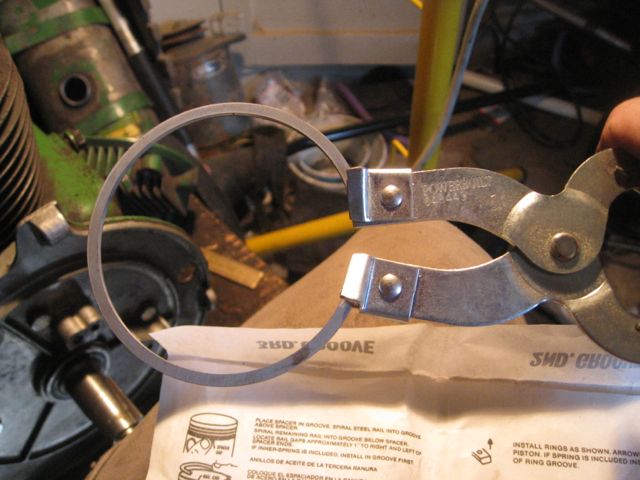
So, the rings… interesting way to package them…
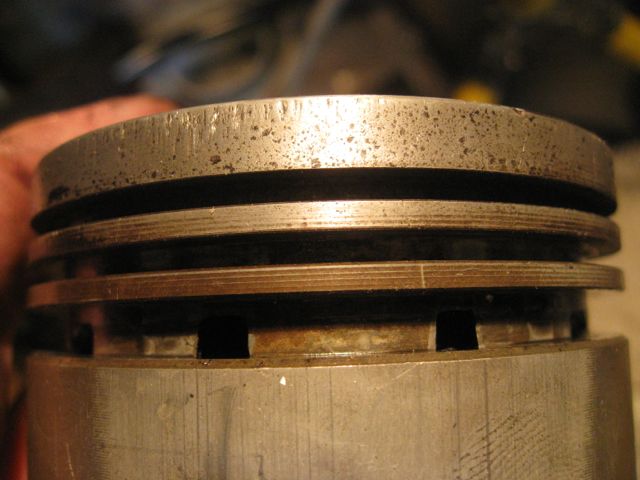
Here’s the OLD ones…
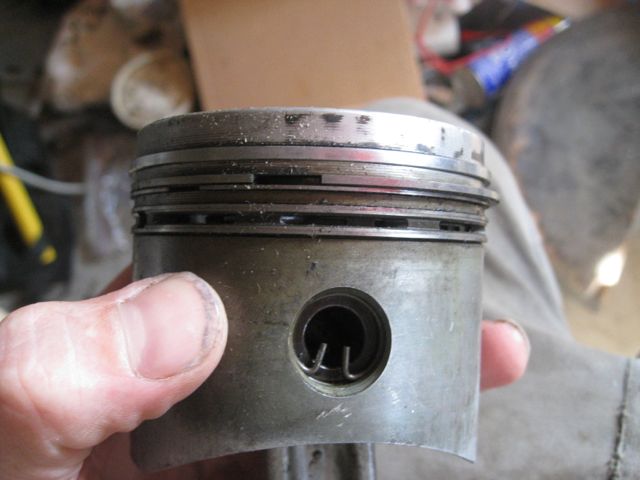
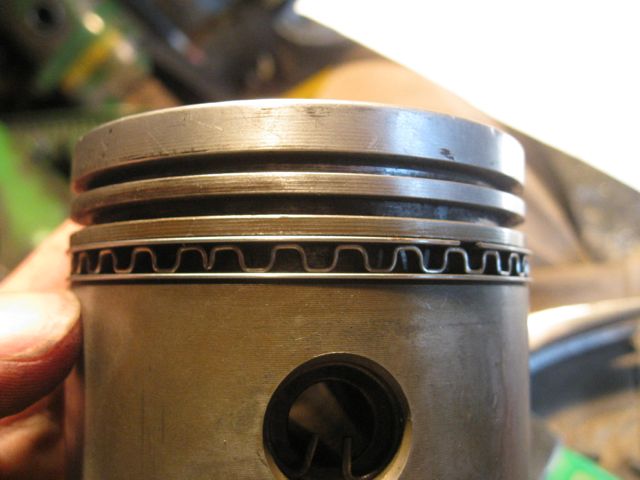
Pulled them off and cleaned the grooves up (helpful tip from the work on Bror, break one of the old rings and use it to scrape out any carbon that’s built up in the grooves).
Bit of a funky different oil ring in this set, I had a heck of a time getting it in place with the spacers. Finally had to tap it with a hammer…
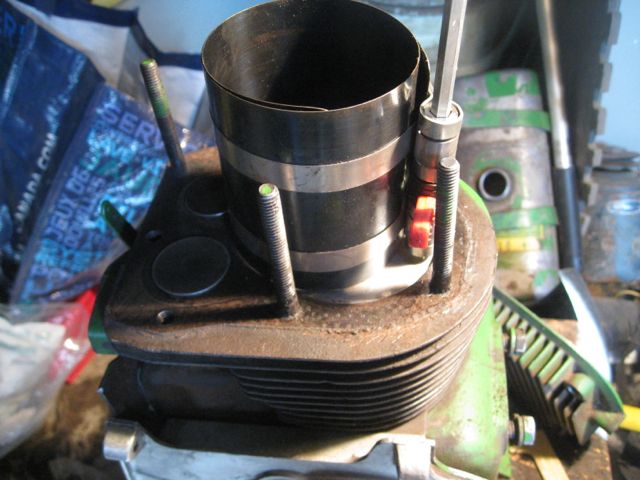
Used this trick from the tech manual to push first the compression ring, then the scraper ring down into the bore to check the end gap…
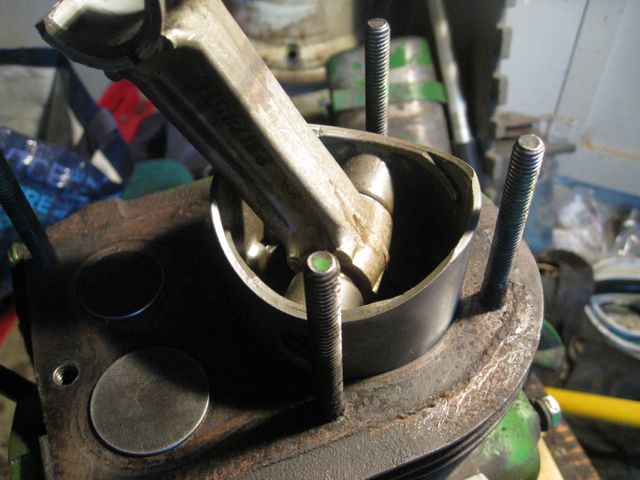
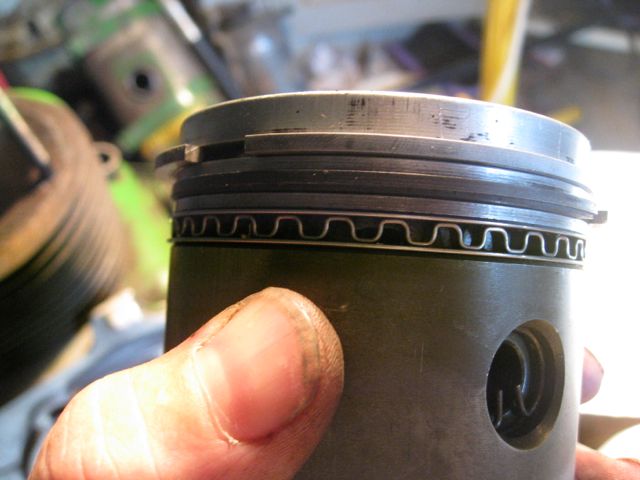
Here’s the ONE THING I’m worried about…

End gap on the rings half-way down the bore is SUPPOSED to be between .007 and .017… Both rings are clocking in at between .018 and .020. Uh oh… Will this mean blow-by? Well, can’t stop now!
Broke out the handy-dandy ring installer tool…
Got all the rings on…
Then broke out my el-cheapo ring compressor, oiled up the piston
and popped the piston in! Went a LOT easier than last time with Bror…
Pushed the piston down into the bore, then flipped the engine over, oiled up the crank pin and the connecting rod race…
popped that rod cap on, torqued the bolts to 200 inch/lbs (NOT foot/lbs!), undid them and retorqued them as per manual, and bent the locking flanges back up with a pair of slip-joint pliers…
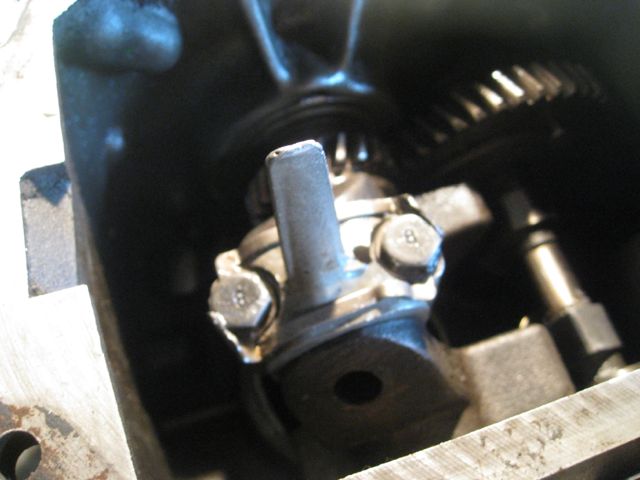
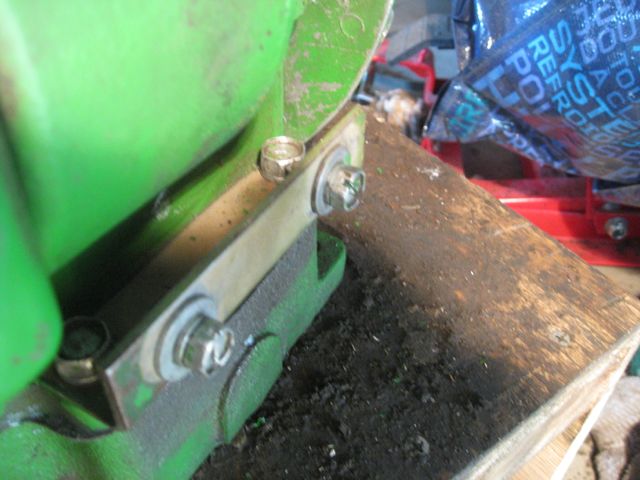
Got the gasket all laid out on the oil pan, then dropped the block on to it and bolted’er on. Good thing to read the manual tho, because I would have totally missed putting on the coil mounting bracket, otherwise…
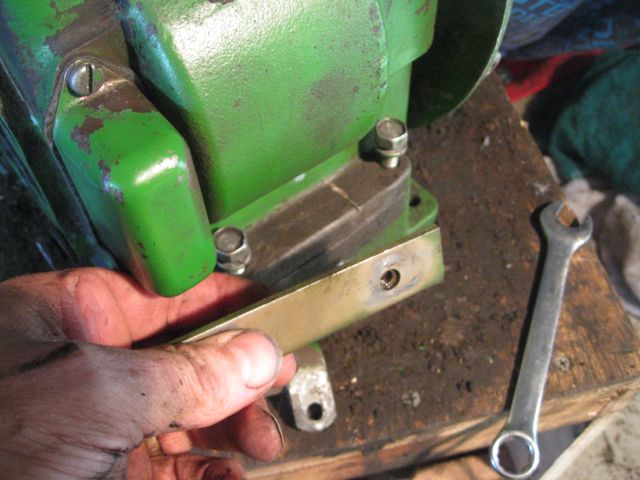
and I DID miss the fact that 2 of the oil pan bolts are 1/4″ longer than the others due to having the bracket bolted on… I LIKE how the Kohlers are styled over the Tecs, BUT this little bit here is kinda awkward to get a torque wrench into…
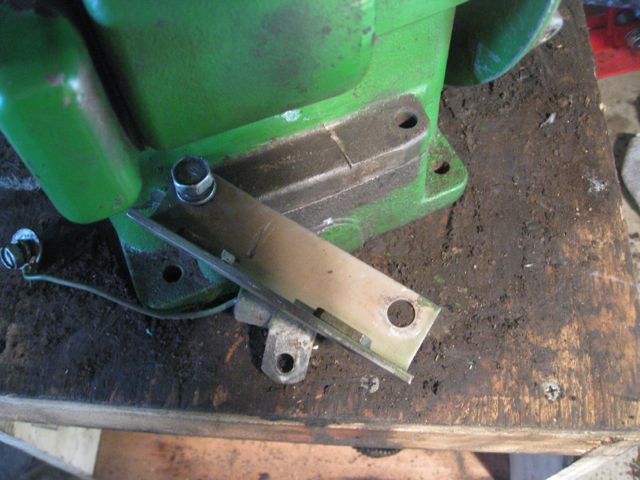
but I finally sneaked it on…
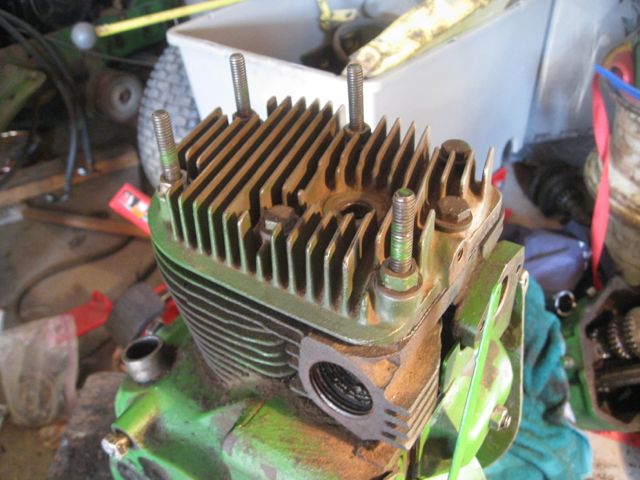
Getting SOOOOO close! Dropped the head gasket on…
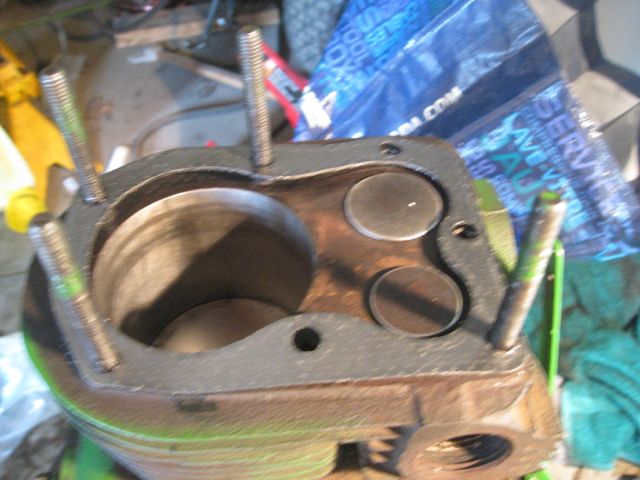
then finally buttoned up the head and torqued it down as per spec in the manual!
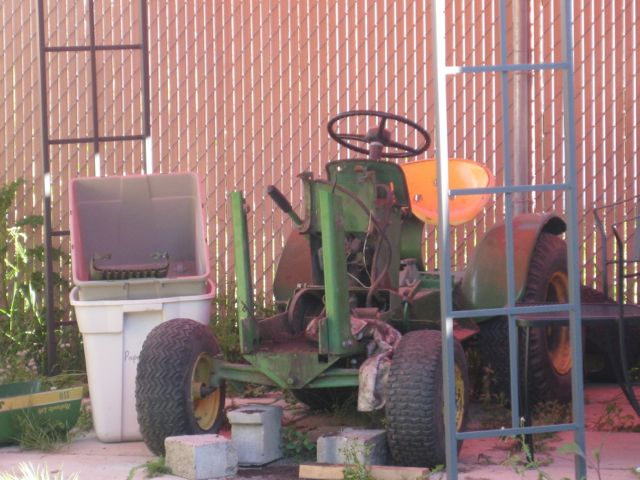
So, next steps, I can’t decide… I’m sorely tempted to hike it back out to Wally BEFORE I put the flywheel on, just because it would be so much easier to torque the flywheel nut on with it bolted to the tractor… AND it would be SO much lighter to move! HOWEVER…. That leaves me at a bit of a standstill because I only have ONE engine mounting bolt until I can get out and pirate the other three from Cranky… I also have to grab the generator mounting rod (Wally’s snapped when I was removing it), a piece of engine guard (because to fit their homebuilt generator rod on, the PO did some plasma cutting on one piece of Wally) and the air cleaner housing…
So, next stop, Cranky! In the meantime, I’m going to try to clean up the electrical a bit while I can get at it…