Well, I’m a little behind on posting tractor-y updates, so I figured I should let people know what’s been happening…
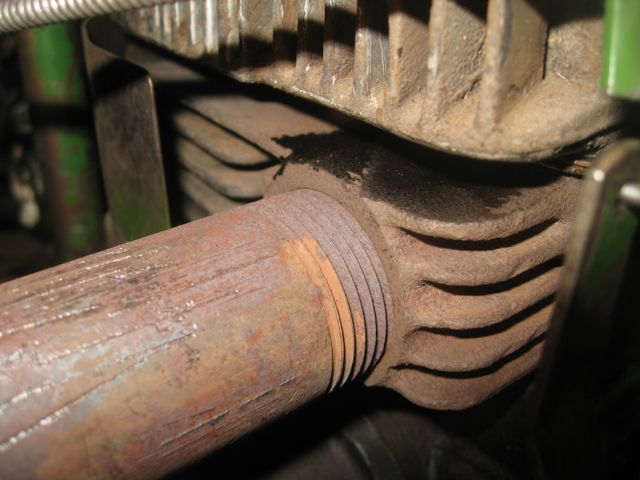
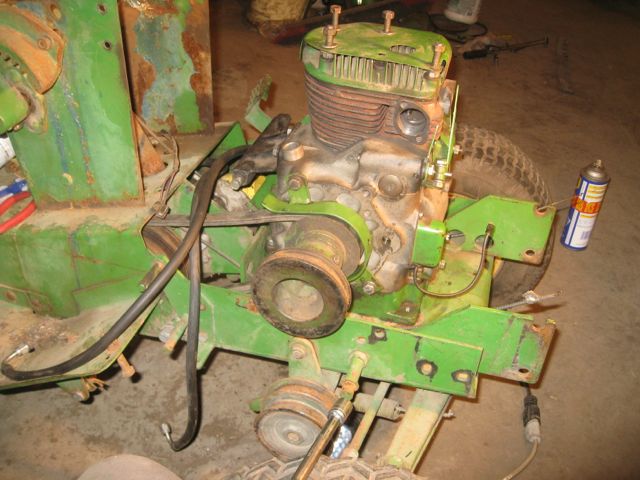
When last I posted, Bror was moving under his own power, things were looking up, I was assembling all the parts to get the engine tins back on Bror, I was looking at the top of the engine to figure out how the hydro pump would mount, when I saw THIS:
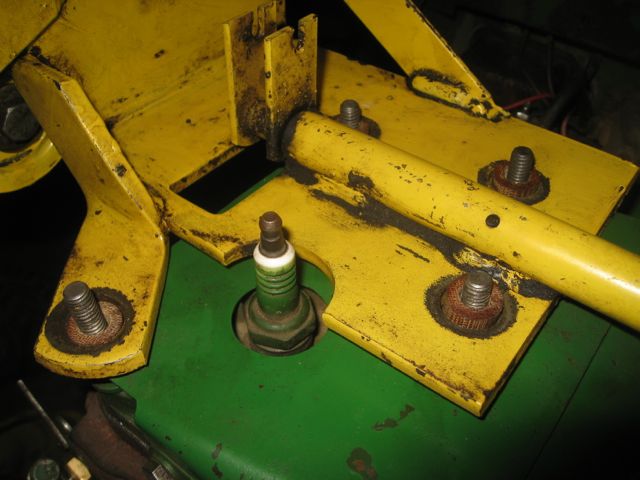
 Uh oh! So, I went for the socket wrench and started to pull the bolts off to see what was going on… The first one, immediately atop of the oil patch, came off in my fingers! It wasn’t tight at ALL! Uh oh.
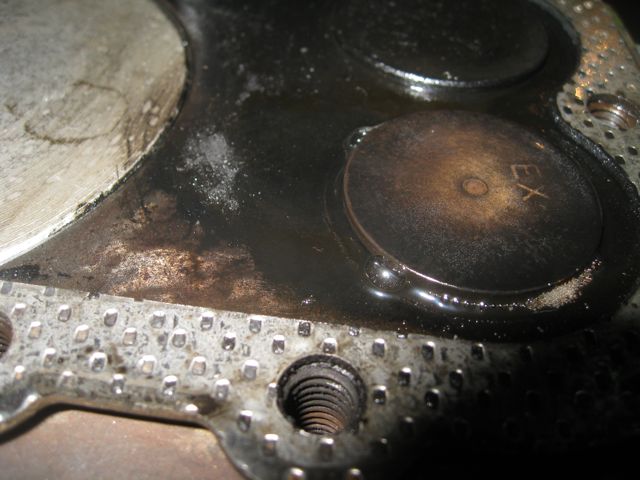
When I pulled the head off, I found some even more scary things…
So I went back to the folks on MTF, got some information from them about checking to see if my valves leak (because I could see oil paths from the exhaust valve. Apparently, you can tell if your valves leak by rotating your engine to TDC (Top Dead Center) so both valves are closed, then putting your air gun from your compressor into either the exhaust port or intake port with a rag to try to ensure some degree of air-tightness. When you let loose with the air gun, if there’s bubbles, you have leaky valves… And that’s a problem. So I tried this…
Uh oh. And they BOTH do it. Checked my valve clearances (where the bottom of the valve stems meet the tappets that the cam shaft pushes up) and they were alright. So, there’s a problem with either my valve seats or the valves. So, I broke out my valve spring compressor and pulled the valve keepers out so I could examine the seats and the undersides of the valves. While I was doing THAT, I noticed that my exhaust valve on Bror had what I considered a LOT of side to side play. Hoo boy…
So, that was decision time… What to do? Well, I had Wally’s engine all buttoned up by then, so I decided to change horses, (er, Deeres) midstream so to speak.
I dropped Wally’s transaxle out of him and installed the neutral start switch I’d prepared for him. This is the safety switch that keeps you from starting your Deere if the transaxle is in gear…
With that done, I put the transaxle back IN, which is a big job, especially if you don’t get everything lined up right to hook the linkages up.
It only took me two tries to get it set up right. Dropped the wheels on…
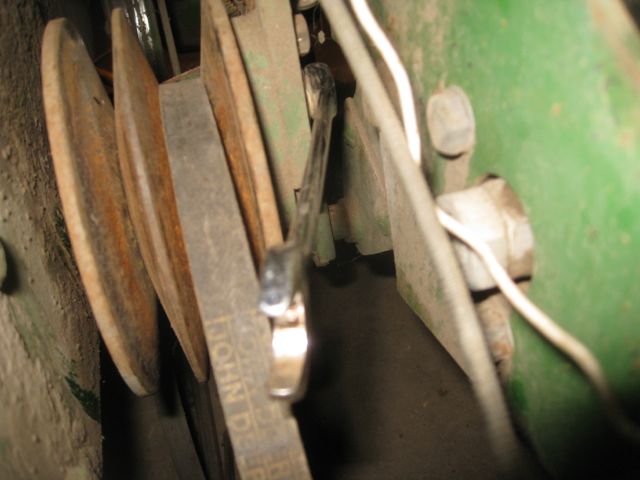
flipped Wally around and cleaned his variator pulley up..
put new belts on him
Then went to go hook up the transaxle idler tension spring and found out that I’d messed up where I’d left the hook for it, I had to take the wheels off, drop the transaxle again, and flip the hook forward so I could connect the spring.
Finally got the engine dropped in
Took a break for Thanksgiving Long Weekend, then came back
mounted the hydraulic pump mount on top of the engine, thanks to one of the fantastic MTF members (QAFarms) for making me some spacers to replace the ones that had failed on Wally initially…
LAST weekend, LTGal let me spend a SIGNIFICANT amount of time out in the garage working on Wally, and I…
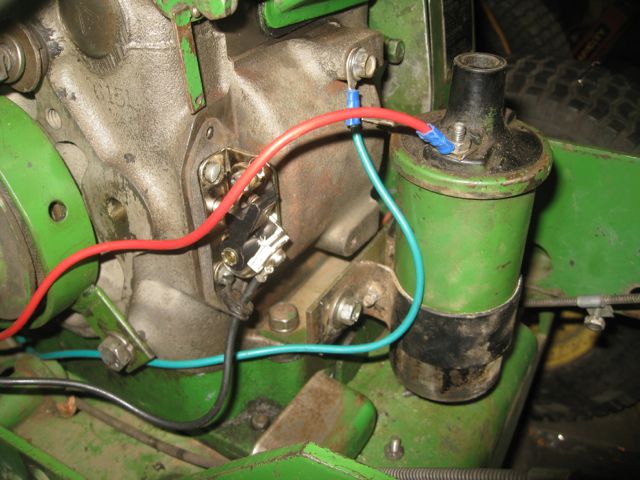
got my PointSaver installed (its a piece that replaces the old fashioned condensor in the ignition system, and provides a timing light to assist in setting up the ignition timing), added oil and was ready for an ignition test…
(This was Saturday morning at about 2 am).
Saturday afternoon I was back out working on Wally…
Later Saturday afternoon, I did a lot of adjusting, got the hydro pump mounted and hooked up and ready…
Sunday evening…
Monday evening….
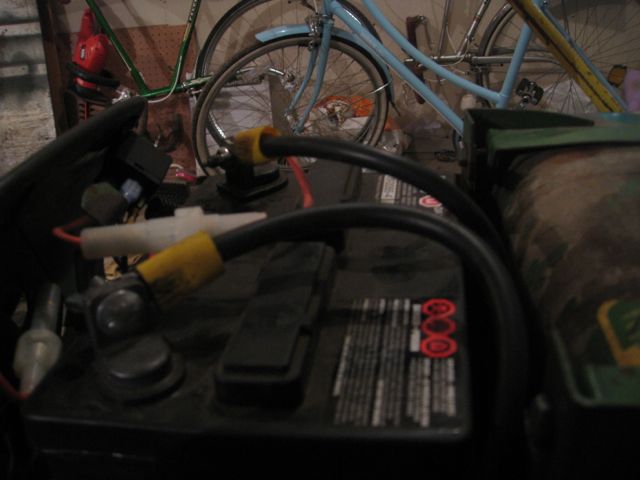
Redid some of my wiring…
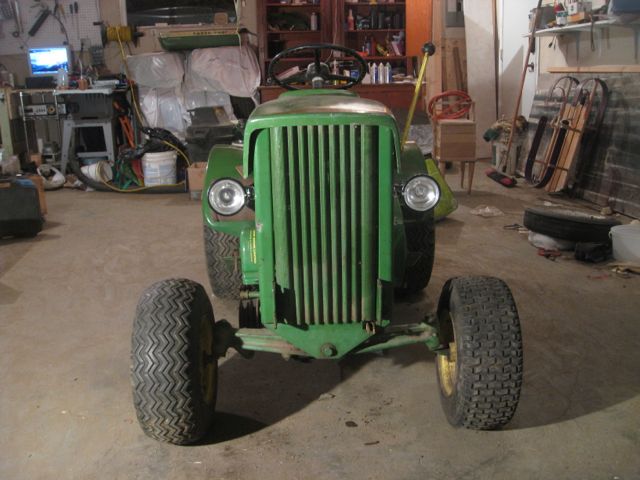
Dropped the hood on and took some glamour shots!
Next step… Snow blade, weights, chains!