So the one thing that I found most cumbersome last winter about pushing snow with Wally was the constant shutting down and dismounting to change the blade angle… In looking at the blade manual for my 42 blade, I found that they recommended using ropes to change the blade angle from the seat… So last night, I sat down with Wally and put on my thinking cap… First thing I noticed was the lovely little 3/16″ holes drilled in the top of each end of the blade! Second thing I noticed was that the lock pin was pretty rusty, as were the holes on the blade… So I cleaned up the pin with my wire wheel, cleaned the rust out of the blade holes, and greased everything up nicely so that the lock pin slides relatively well…Then I started thinking about rope…. Well okay, sure, I COULD use regular nylon rope, but hmmm… That would sure be hard on the hands, and I’m sure it would fray… What about cord? I vaguely remembered using parachute cord for things at one point, so after some significant google searching, I found THIS, at Princess Auto (surprise surprise).

50′ of it for $4.99… Sounded good to me, despite not being too thrilled with the colour choice displayed in the online image… So today I popped out to Princess to take a peek…
Here’s what I got!
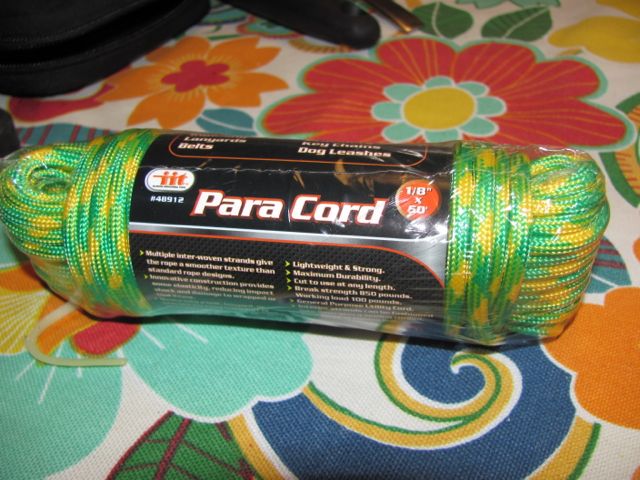
Okay, I gotta say, I NEED to use this now! What AMAZING colour coordination! I don’t care if its totally Cr*p, I gotta use it NOW!
Now I just have to figure out handles, attaching to the blade (I’m thinking some wooden craft beads, the kind with holes drilled through them) and how to route the cords! Right hand side of the tractor might be totally out, as (with the muffler, pto, PTO clutch and variator there) there’s a LOT of accidents waiting to happen!
Well, I got out and really hammered away on the blade adjuster project tonight!Here’s the holes in the upper corners of the blade that I’m going to use to put the cord through…
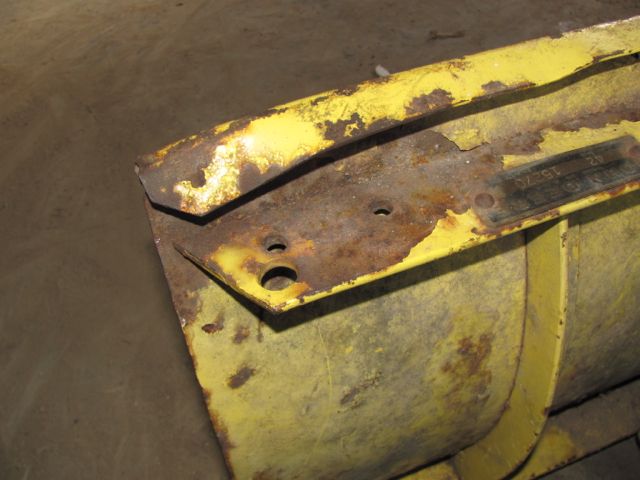
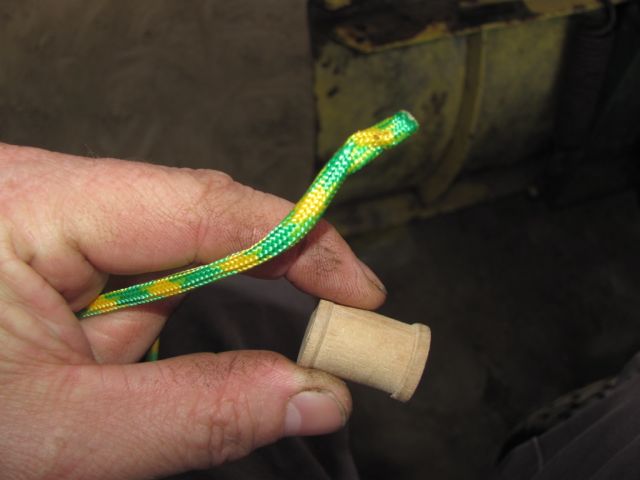
Cord through the hole in the blade, cord through the wooden bead, and knotted to keep it attached.
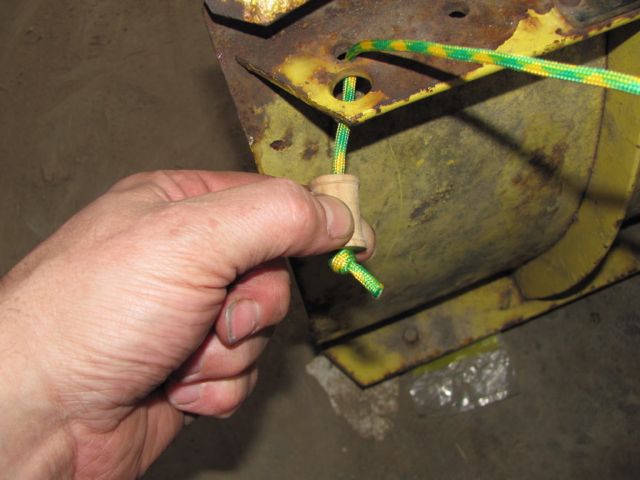
The next big question is how to route the pull cables. Originally, I thought I might go up inside the hood, between the hood posts and the hood, but I noticed that when I put tension on the cord, it spread the hood and rubbed really badly.
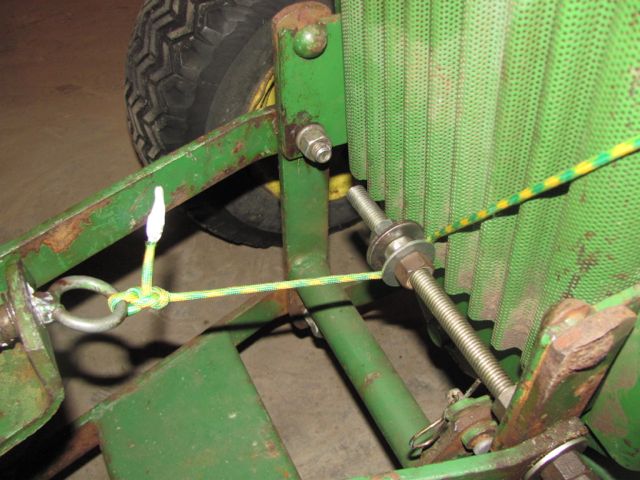
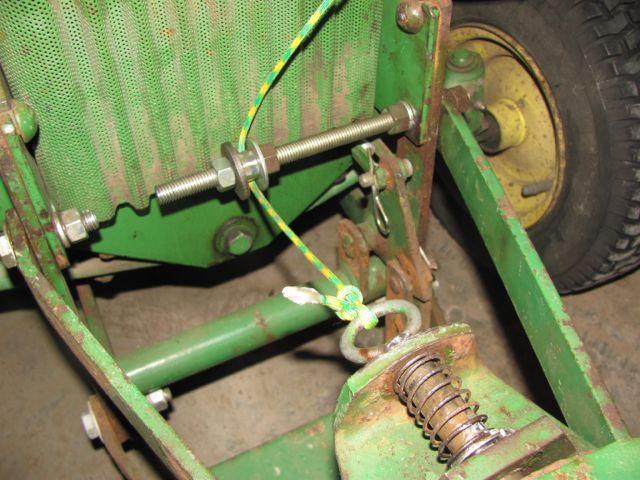
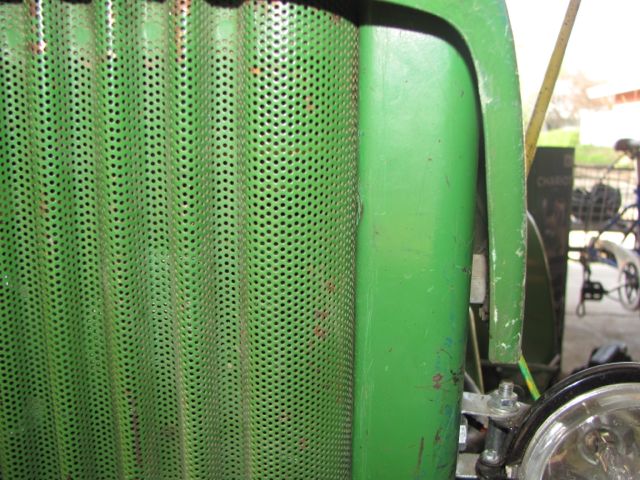 One of the things I quickly discovered is that its almost impossible to pull the lock pin with the cable at an angle. and I know one of the tractor forum guys mentioned using pulleys… But I don’t have any of those handy. What I DO have is some 1/2″ threaded rod, some 1/2″ nuts and some plate washers. Turning the pin upside down so the grabby thing is angled downward makes it function much better. However, I can’t get the pin to pull if I have the blade raised all the way up…
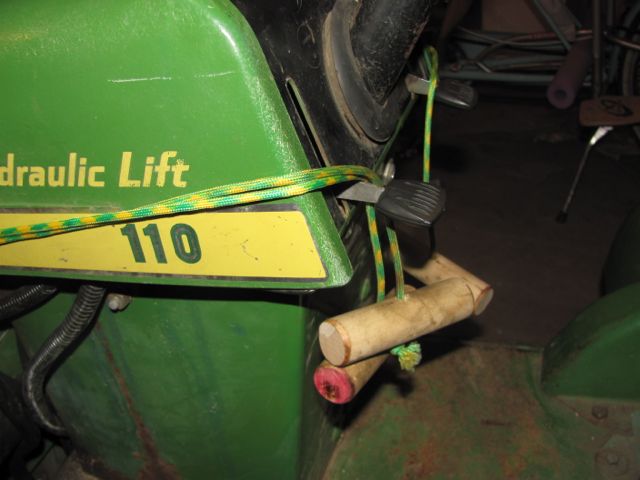
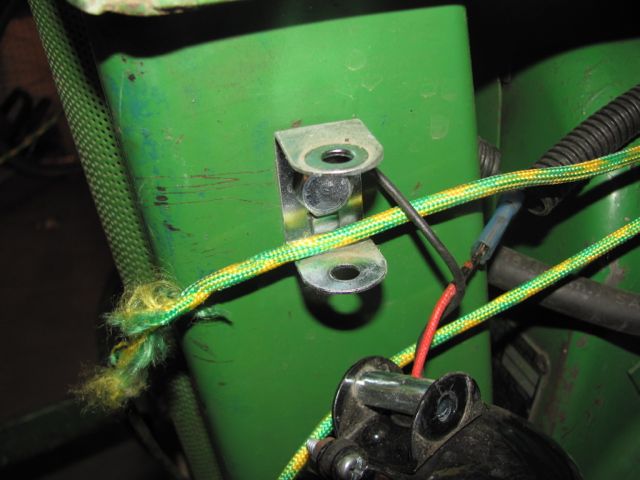
Where I finally decided to route the cords was inside my headlight mounts on Wally. Interestingly enough, the curved bolt-hole on the light mount makes a nice smooth surface for the pull-ropes to run across…
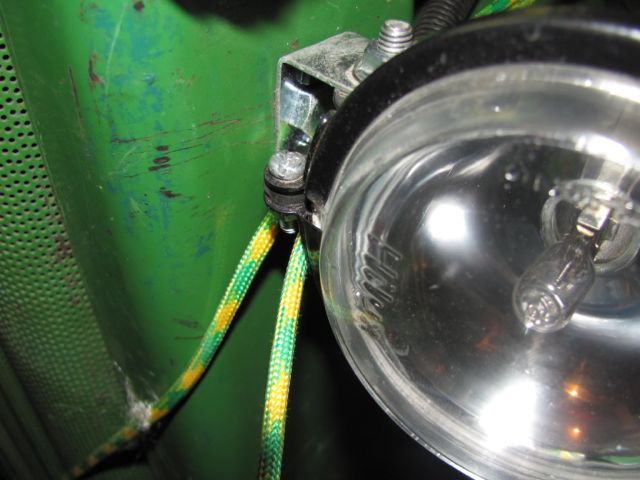
But the sharp edges of the mount itself quickly destroy the locking pin cord… So I wrapped some electrical tape around there on the left one, and we’ll see what happens…
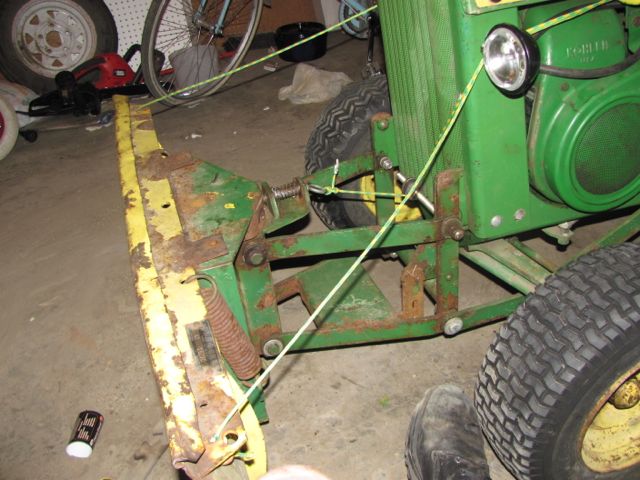
Another view of everything hooked up at the front…
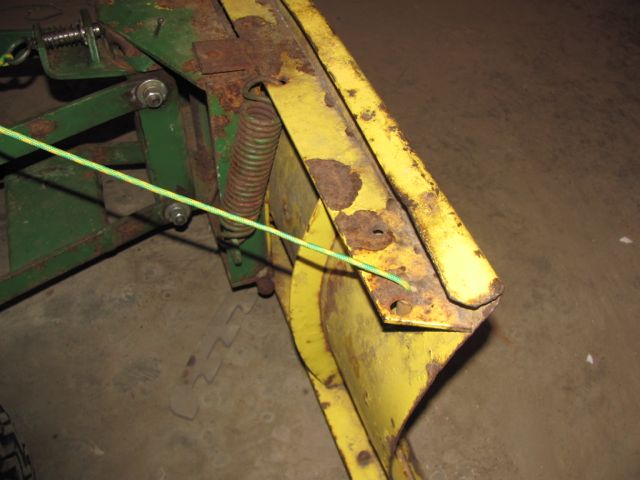
And from the other side.
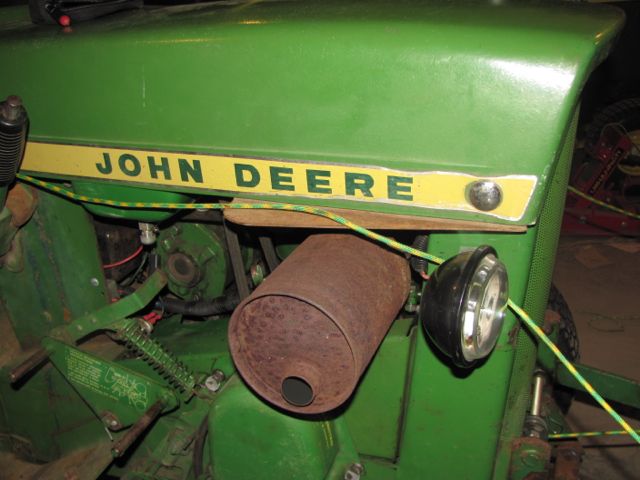
Here’s the only spot I’ve got some concerns about, trying to keep the right-hand cord from melting to the muffler. Maybe an eyebolt mounted to the exhaust shield…
And another look at the “pulley” setup at the front… The only thing that worries me is if the blade shifts backward, those plate washers are going to dent my grill… I may pull them off yet and grind a flat spot onto them.
 And no project would be complete without a video!
