Score!!! A donor engine and hydro pump!

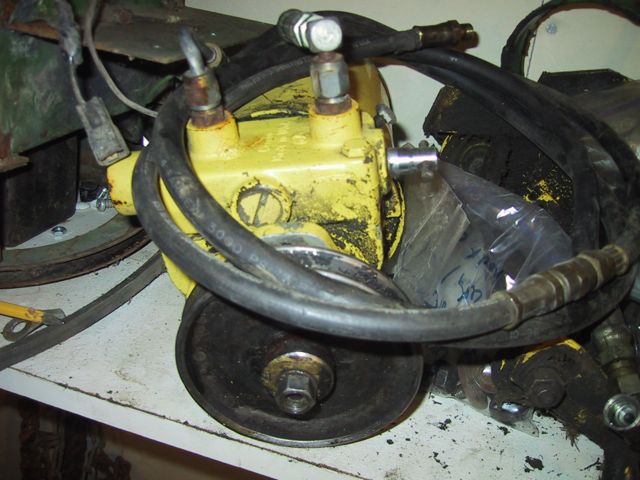
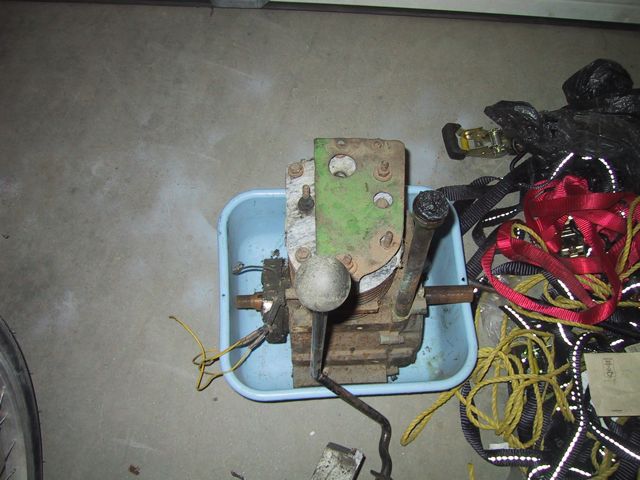
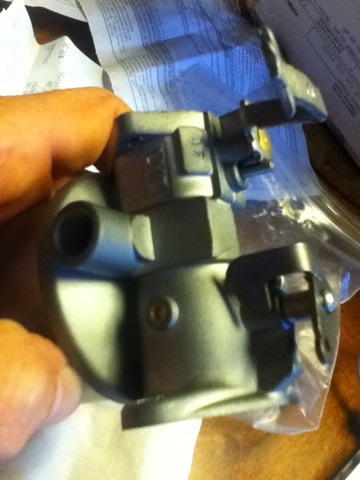
So, answered an ad on Kijiji on the weekend, a guy outta town had a hydro pump, ram and lift hardware from a 1968 112h. Cross-referencing the pump on the parts catalog told me it was the same one as in Bror (67 112h, although it didn’t look like the ram was.  
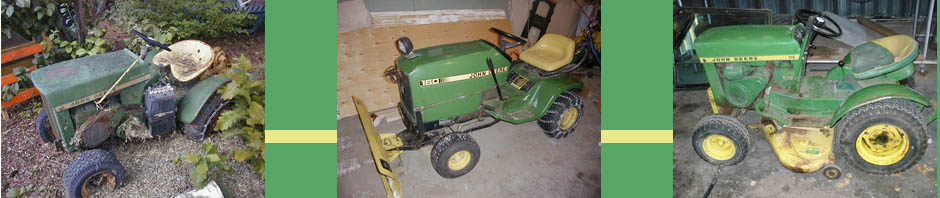
Decided last night that I’d make a road trip out there, and I’m glad I did…. The tractor had been left at his acreage by the PO, there’d been an electrical fire, so it was not drivable… Since the PTO clutch had seized and cracked, he had decided to repower it with a different engine… So he still had all the engine bits that he didn’t need.

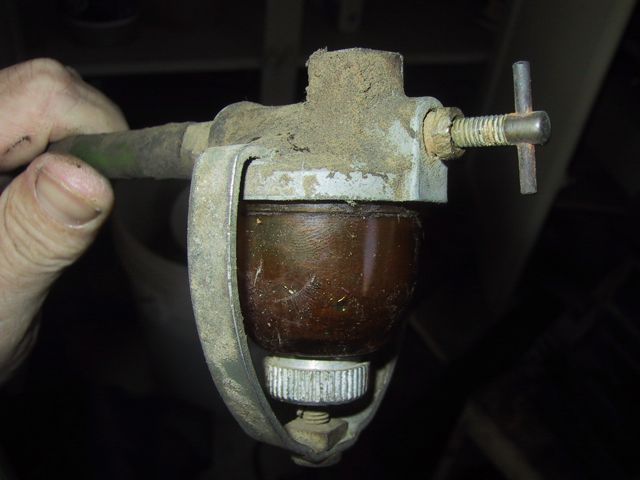
Turns out yes, the ram is different, but the hydro pump is the same,

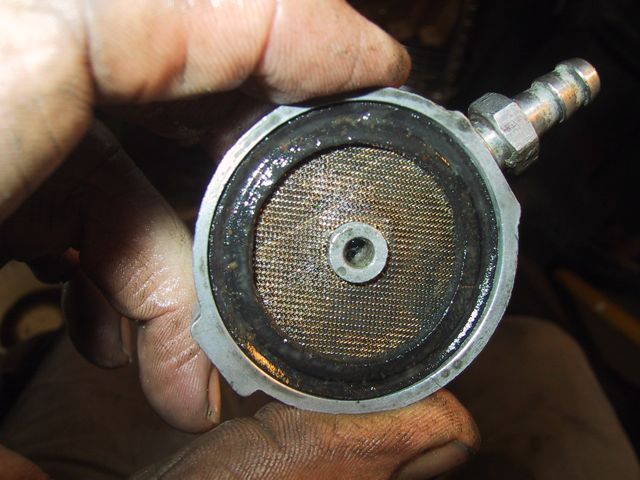
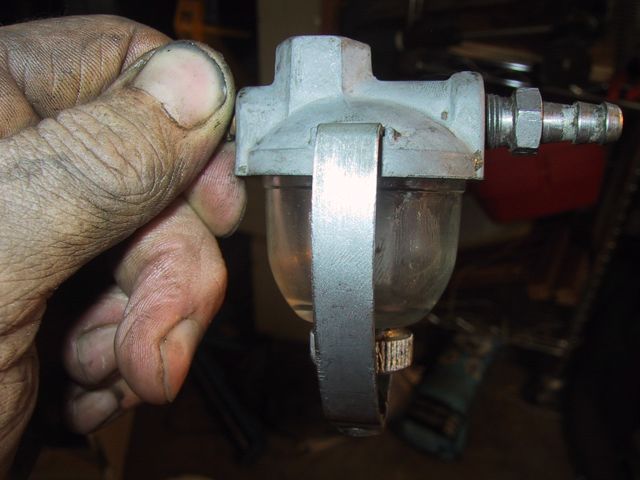
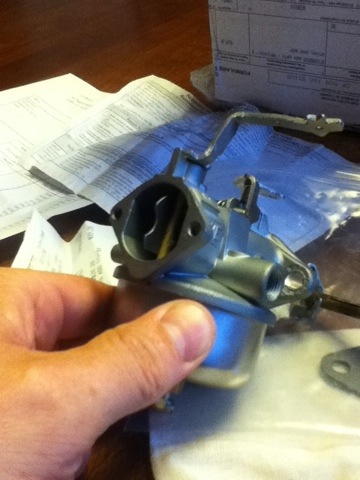
and even better, the ’68 SF shared the 10HP Tec engine with the ’67 (with a few differences… Electronic ignition instead of points, alternator instead of generator… ). So I took the engine and the carb as well…

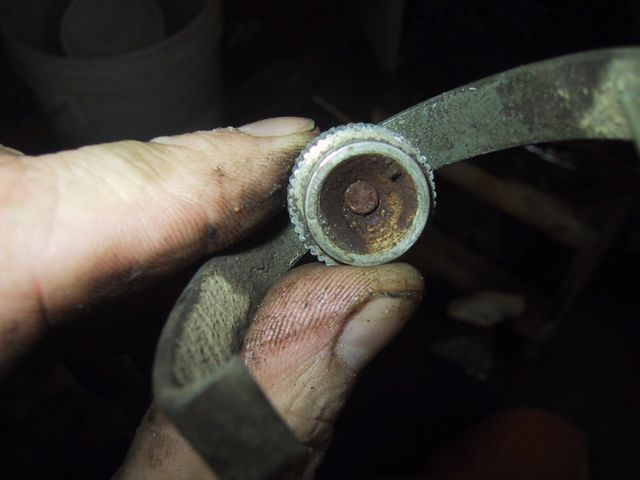
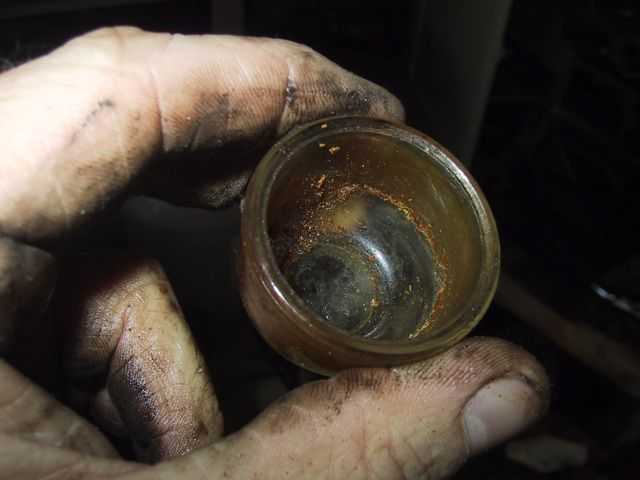
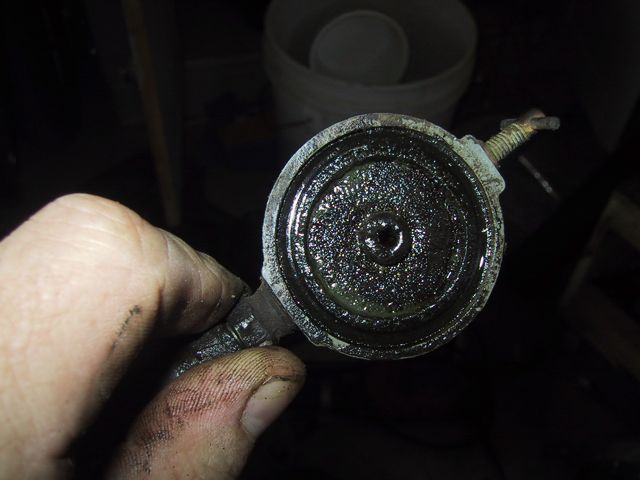
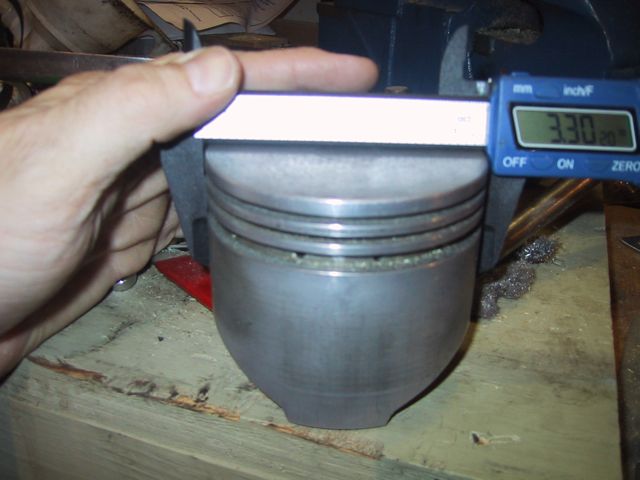
The carb is a bit of a writeoff (loose throttle shaft) but its nice to have one I can dork around with to learn about, rather than messing with the “super-carb”. Engine still spins and still has compression, and after doing some crossreferencing with the parts catalog it looks like it will give me pretty much an entire set of bits that are otherwise unavailable or very spendy (piston, connecting rod, slinger, wrist pin, valve springs, valves, tappets, camshaft, crankshaft, crankcase breather) to have as spares…. I LIKE spares….

Posted in Bror | Leave a comment

Well, not REALLY tractor time….

But related….. eventually….

Have had this sitting out in the garage for a month, waiting for me to put it together…

Started at 9, its now 4:30…. ALMOST done….

It came from the factory, pre-dented… great…

I spose I shoulda been sealing as I went along… It wasn’t till after I had it all together that I found the three rolls of adhesive sealer tape… Except they never mentioned ANYTHING about doing that in the instructions, and the tape wasn’t included on the parts list…. Hmmm… They also included a major big roll of Teflon tape, tho….

Hmmm… Dunno what THIS access hole is for… MOUNTING a light? This setup didn’t come with a light, just a switch… Although there ARE two clamps, labelled Light Clamps, which bolt on to the inside….. Dunno what kinda light you can MOUNT inside a sandblasting cabinet, tho…

Don’t quite know whether the seals go under the rings on the outside, or on the inside… Well, guess it doesn’t matter… maybe

So, where does one get replacement/better gloves for these puppies? The gloves on this one are designed for TEENY TINY hands… And I already noticed some rips appearing in the arm pieces, just from trying them on once…

The little cleanout hatch is cool… Although they FORGOT to include it in the instructions… Good thing I noticed it, and wondered what it was for…

Still short two bolts on the glass frame, as I need to crawl in to put the nuts on, and have somebody else hold the screwdriver… Wow was the glass and plexi a pain to put in! And what’s the deal with all the sheets of “protective plastic” they included? At least they included a spare chunk of plexi….

Time for me to tuck in now, since I hope to take it out to my dad’s plant tomorrow to hook up to his big compressor…..

Posted in Tools | Leave a comment

What I got done today… I had a gas!

Well, I figured that if I was ever going to get the carb strapped back on and the engine back in and the electrical done, I’d need to go through the fuel system… So, today, thanks to the good graces of LTGal, who took LTBabe shopping with her this morning, and my mum, who took LTbabe this afternoon AND fed us supper while LTGal was at work, I got back out into the garage for a big chunk… So, when last we looked at the fuel system…

and unfortunately, the 64 MEG RAM upgrade did NOT help the sediment bowl AT ALL
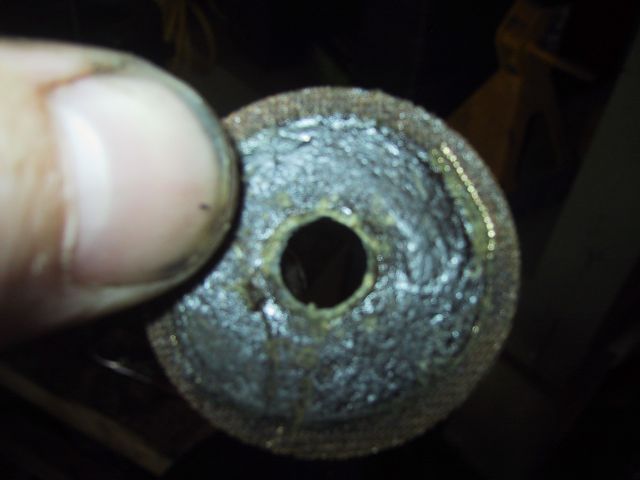
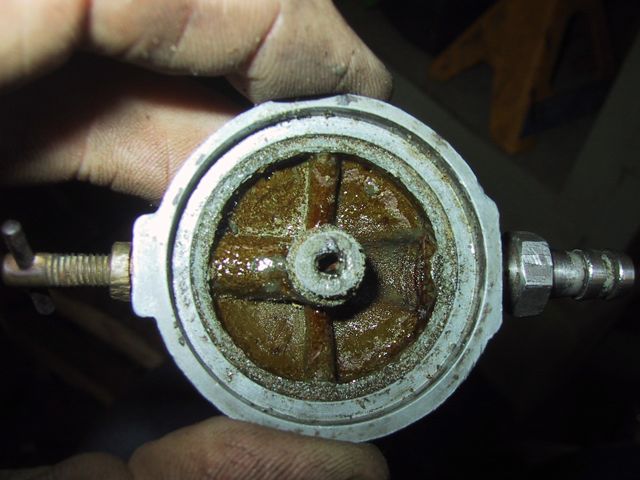
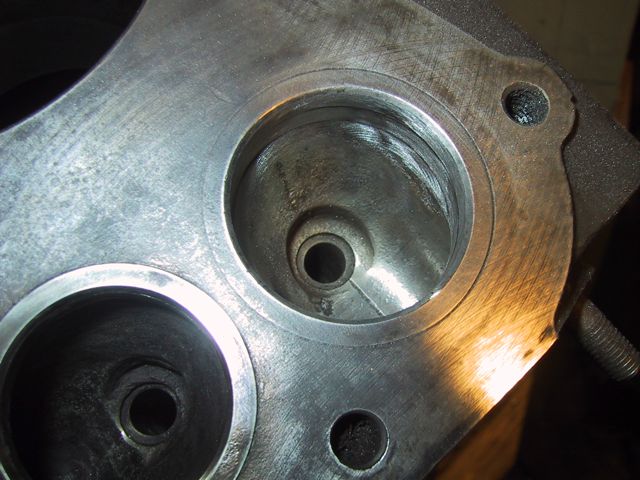
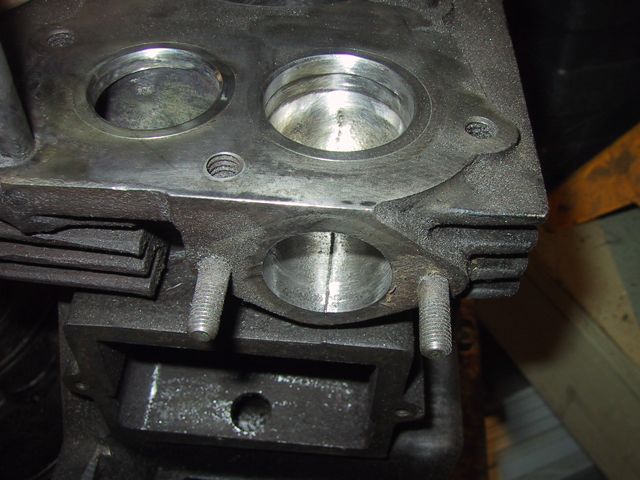
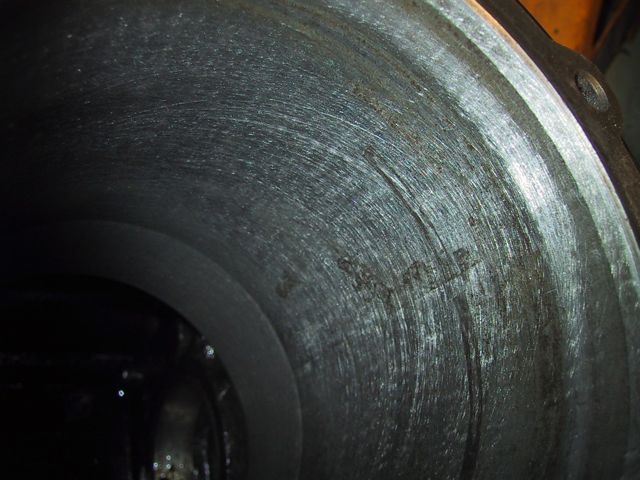
So, NOT a pretty sight….

First of all, pull the sediment bowl off the tank…

The tech manual says,
“Wash out sediment bowl and dry thoroughly whenever dirt particles are noted in the bowl”….. Hmmmmm…. MIGHT be just about time… So… How the heck do you get it OFF? Tech manual says,

“The sediment bowl is easily cleaned by closing the shut-off valve and loosening the thumb nut until the bowl can be removed…” 45 minutes, a pair of slip-joint pliers and a bunch of shots of WD-40 later… I have THIS,

and I have THIS,

So, the Tech manual talks about a strainer, but I can’t see one… Looking at the top of the sediment bowl, I see this:

Well! How the heck is this bloody thing supposed to WORK, with a big rubber flap where the strainer is supposed to be?!?!? Oh… Waitaminit….

A bit of prying reveals…

Hmmmmm…

And then I can see UNDER the screen/gum container!

Okay, out comes the scrub brushes, the scrapey knifey thing and the Simple Green!

The filter screen, after 20-30 minutes of scrubbing and scraping:

The bowl hangar, after some sanding and polishing with steel wool:

The sediment bowl top, after about an hour of scraping and scrubbing and picking with sharp implements:

The screen and top reassembled:

The whole unit back together:

And strapped back onto a scrubbed and sanded tank (sanded by hand, as there appeared to still be very small bits of gas… and LOTS of varnish… in the tank):

So, things I have to do… Find out whether the sediment bowl gasket and screen are still available and order new ones… I kept the old ones and put them back in for now (and in case they aren’t) but they aren’t the best… Also, while I don’t have a picture of it, there’s a schwack of varnish coating the bottom of the inside of the tank… What I’m TRYING right now is a mix of water, Simple Green and a handful of gravel. I’m going to let the detergent sit for a day or so, then violently agitate the tank to see if the gravel will take the varnish off… Wasn’t sure how else to do it, because I have no access to any acids or anything like that… Next step beyond that will be to prime and paint the tank… Then I buy some new gas line.

All in all, a good day’s work….

Posted in Bror | 1 Comment

Some measurement questions…

So I got some good advice on MTF about where to go with honing…
Quote:
LTG- time to break out those fancy measuring tools you got earlier-

Measure the piston 90 degrees from the wrist pin. write that down

Measure the bore. Write that down. Make sure you get an average measurement- it will not be the same everywhere.

If the side clearance ( the difference between the above measurements ) is greater than , oh, say about .007″, then don’t hone much anymore. A sloppy bore will result in piston slap ( rocking side to side under load)

Good time to check your ring end gap too.

Here is a site that I refer to once in a while, but setups for your engine may be a touch different.

https://www.antiqueautoranch.com/mont…eedpiston.html

Looks like you smoothed things out , and are starting to get a cross hatch pattern going. 
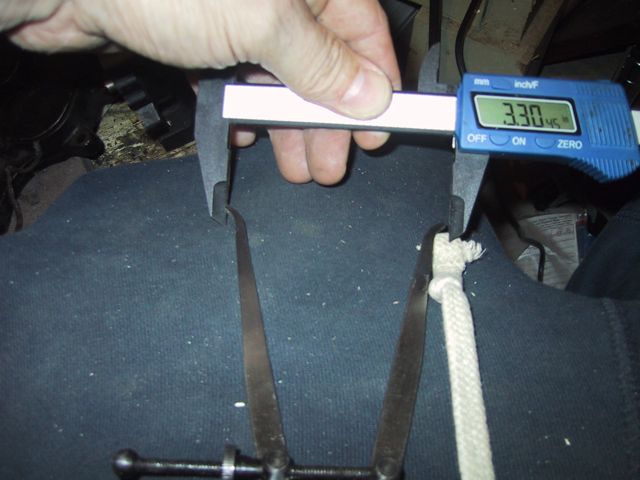
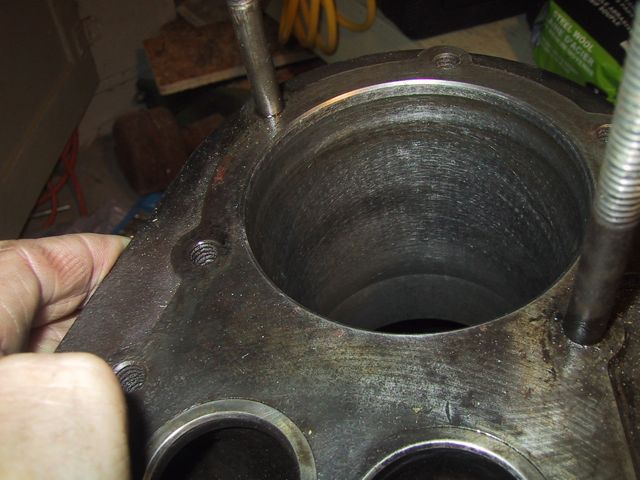
I would use more ( quicker) up/ down movement as you spin the hone, whoosh whoosh whoosh, not w h o o s h, w h o o s h …
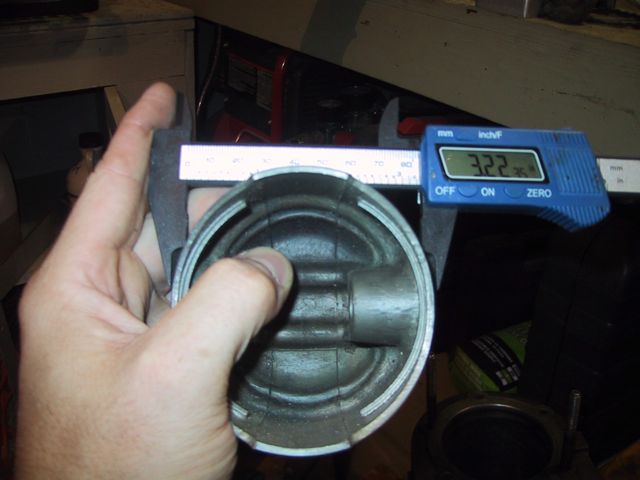
Okay, got some questions about this measuring thing, then… so for the measurement 90 degrees from the wrist pin, do you mean like this?

which gives me 3.2270

or like this?

which gives me 3.3015.

I’m guessing option 2

For the cylinder, I’m assuming I use the inside calipers and then measure them… like this

which give 3.3045 to 3.3055…

Haven’t put the rings on yet… Should I be doing that before I measure?

Posted in Bror | Leave a comment

Cleaned the Intake Passage

Well, I figured if I was gonna strap the beautiful restored carb on, I couldn’t leave the intake passage looking disgusting… So out came the dremel and some sanding wheels…

Posted in Bror | Leave a comment

Amazing, just amazing!

Wow! Mark at Carbrescue has done an amazing job! Just picked it up from the post office!

20110816-075846.jpg

20110816-075913.jpg

20110816-075940.jpg

Now if I can ever get LTBabe to go to sleep, I’ll get back out and hammer down on getting things back together!

Posted in Bror | Leave a comment

Did the honing tonight… I hope…

So, I screwed up my courage tonight, and hopefully DIDN’T screw up my cylinder.  Hopefully I followed all the MTF advice I got well enough… So, what do you all think?


Still some marks on the cylinder wall where the piston was rusted in a bit, you can see that in the first and second pic… Dunno if I should be honing until those are gone. Thoughts? I hope that’s the crosshatch pattern I’m supposed to be seeing… Haven’t cleaned it out with soapy water, thought I’d wait to see what everybody says.

Maybe I’ll clean up the intake and exhaust passages a bit more yet tonight…

Oh… and the carb got to the post office today! YAY! So gotta start ramping back up and getting this puppy put back together!

Posted in Uncategorized | Leave a comment

Another cool tool for helping with the resto!

These were on sale at Princess Auto for half-price, so I mentioned it to Dad… And since HE’S got a big compressor AND some things to sandblast too….  I’ll put it together over the next little while, then haul it out to his plant…  And bring out all the small bits I might need to sandblast…


Posted in Tools | Leave a comment

The NEW tires for Bror

So I’ve HAD these tires since early in the restore process, just thought of taking a picture of them tonight… These came from a friend of mine, Morris, who bought them when he was originally going to restore a similar tractor slightly newer than mine… But then he got his BIGGER JD 317, and these didn’t seem like a need for him any more… But Bror needed some new booties…


Posted in Bror | Leave a comment

Beating up on MORE tires!

Well, I had some time tonight, as LTGal was out at a movie and we pressed Kidlet#2 into babysitting LTBabe… But I just haven’t worked up the nerve to hone the cylinder yet… So, I thought, after my adventure in tires over these past two weeks, I thought I would get motivated and try popping some tires off on my own, just for giggles… This past weekend, I went out to my dad’s plant to do some mowing for him, and while I had a bit of spare time (and the old rusty rims from Bror in the truck), I thought I’d try Team_Green’s recommendation for easily popping beads on tires… HE said, it never fails for him, take a 2 x 6, place it on the tire close up to the rim, then drive up the 2 x 6 with your truck… Sure, I thought, I can do that!

Or not…. And that was even a 2 x 8… Okay, so I had a mallet, a wrecking bar, a tire iron and a screwdriver in the truck, so I went after it for a while… DANG that’s hard work… I managed to break the bead, but not get the tire off of ONE rim… So tonight I did some shopping!

Here’s the handy set of tools from Princess Auto, along with my mallet, my trusty screwdriver and wrecking bar…

And of course, I couldn’t do it without one of THESE!

Here was the first victim-er-rim… Fresh off of the 120 I got from Team_Green last summer…

I think my favorite tool is the 12″ beater bar, just LAYING into that puppy with the mallet is VERY satisfying. I’m not really too sure WHAT to do with the other two, I used them for prying and pulling and stuff… After an hour or so, I was left with this!

One thing I’ve learned is that I’m not MAD enough to take off tires… To really RIP them off by hand (without a handy bobcat) truly takes getting some serious anger on! The second one went quicker, ’cause I was getting ornerier, and I wasn’t gonna take no guff from no tire! (of course, my aim is worse when I’m mad, I may need some advice on taking small dints outta the edges of rims now…). In no time flat (okay, 45 minutes or so, plus some cleanup of the grease) I had THESE!

So, one step closer to having the nice lugs from Greensail installed on a nice set of rims. Thanks for the awesome rims Team_Green! I’ll probably STILL sandblast them and paint them, but they’re sure prettier than the ones that were ON the tractor!

Posted in Bror | Leave a comment