|
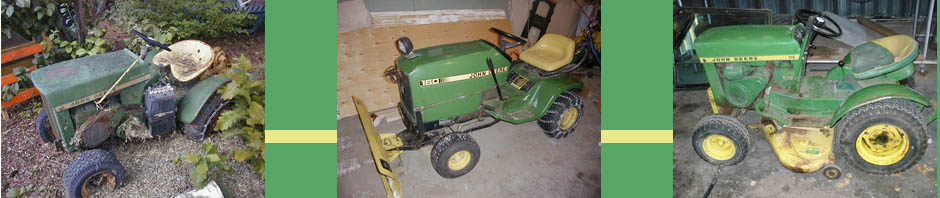
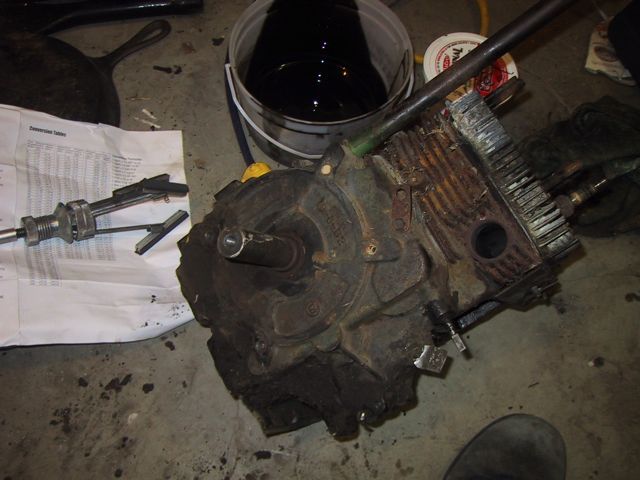
So, as promised, some more pictures about what I got done last night….First thing I did was go after Donor Frank to pull some bits out…. On the downside, after I pulled the cylinder cover off to get at the governor rod, I found that no, Frank does NOT have the same camshaft… No EZEE-Crank Automatic Compression Release on it!

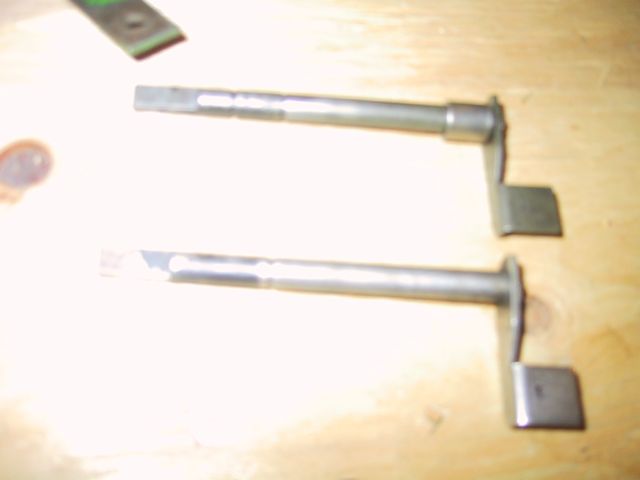
BUT…. a perfect governor rod! And I even found the section in the tech manual that said if the governor rod was at all loose to replace it! So I DID!
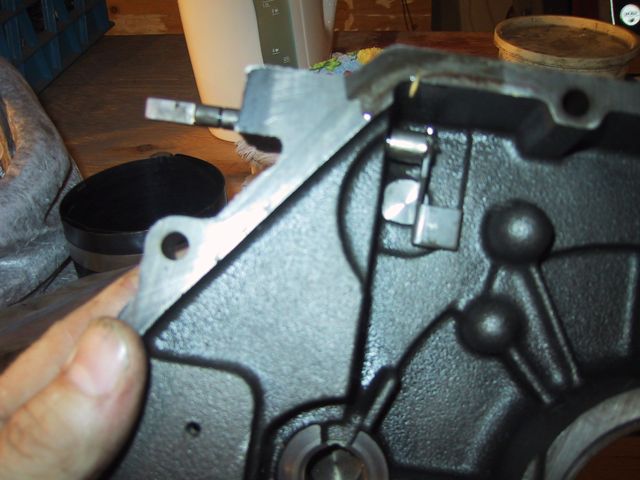
Here it is, installed in the cover…
Lotsa spots talking about needing to be oiled before being put together, so I nabbed my oil can…
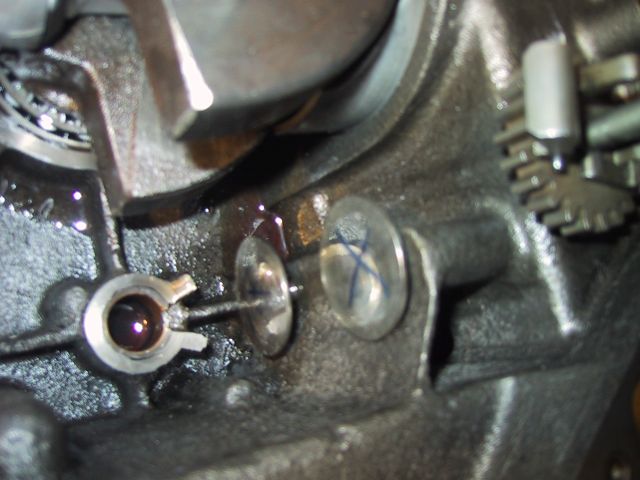
Tappets going back into their respective holes (see how nice my sharpie marker stayed visible on them?!?).
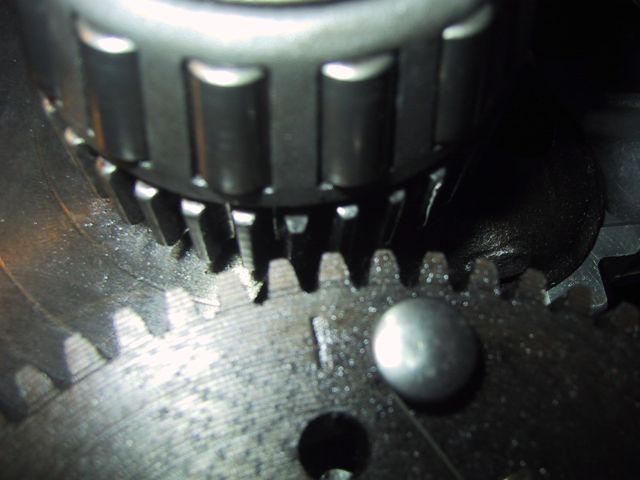
Got my timing marks aligned! (This looks right, doesn’t it? Line on camshaft aligned with chamfered tooth…)
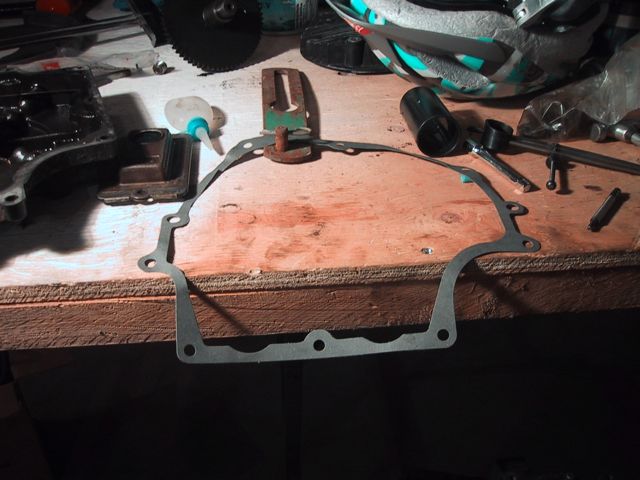
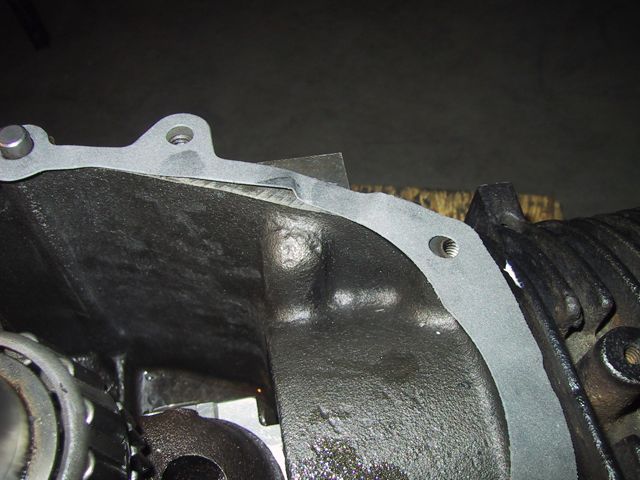
Pulled the crankcase gasket out of my full gasket set that I bought so many months ago…
Here it is laid out on the crankcase…
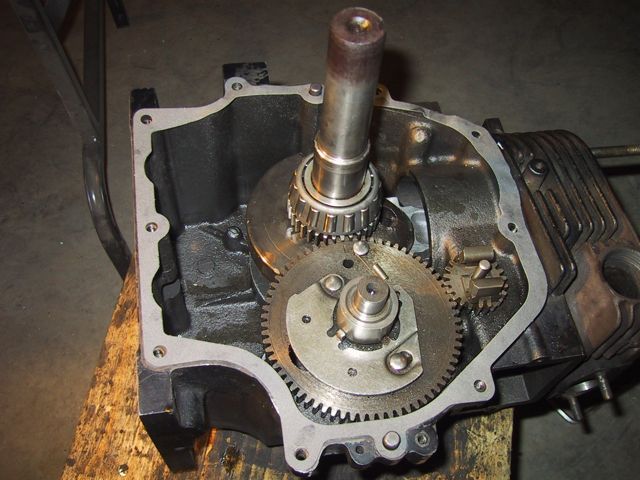
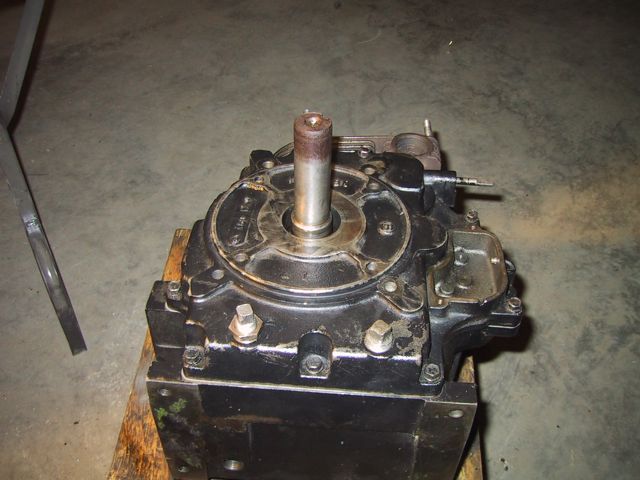
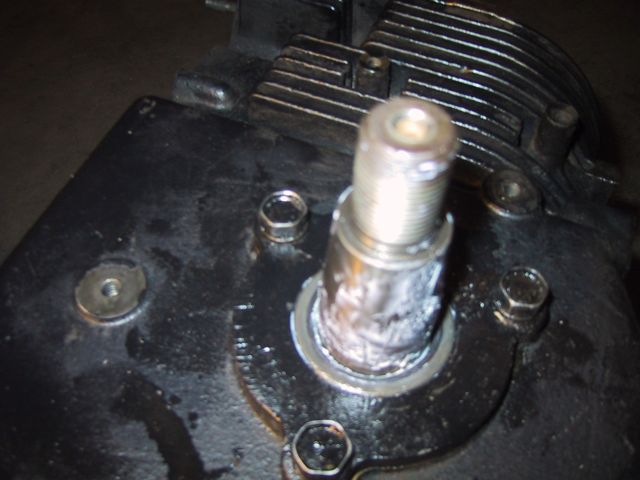
And setting the cover on…. So when I went to check the torque chart in the tech manual for the HH100, it listed the smallest bolts as 7/16 head, at 10 ft/lbs of torque… But the crankcase bolts are even smaller, at 3/8 head… Should I be torquing those to 10 ft/lbs? On one hand, that doesn’t seem to be a whole lot, on the other hand, I wanna be able to get them out sometime, right? And I don’t want to crush the gasket right out… THAT’S why the numbers are so low, right? Okay, plugs are back in (still need to tighten them), I THOUGHT I was gonna be done at this point….except for oil seals of course
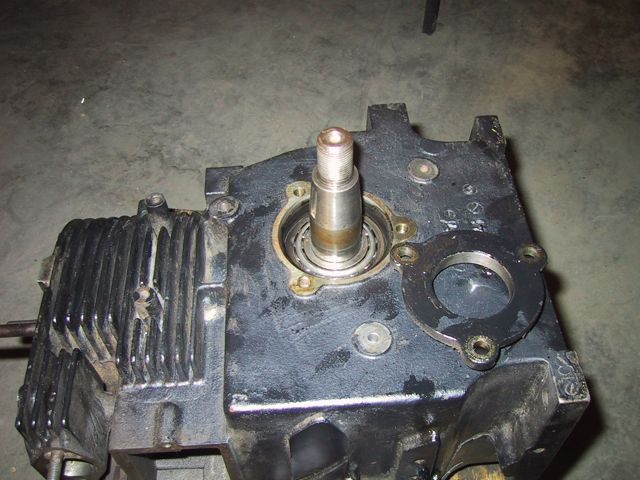
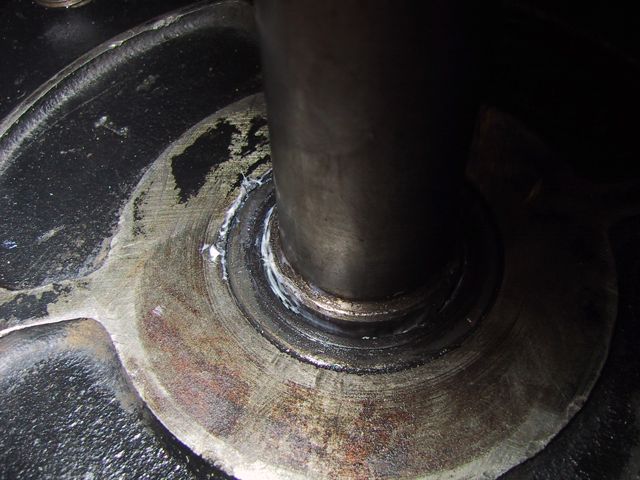
But then I read the bit in the tech manual about crankshaft end play… Stick the feeler gauge under the bearing retainer, between it and the case, to determine whether you need to use the shim gaskets to increase the crankshaft end play to an acceptable amount (.0003, it sounds like)… Well, I tried to put the feeler gauge under there, no go! Uh oh….
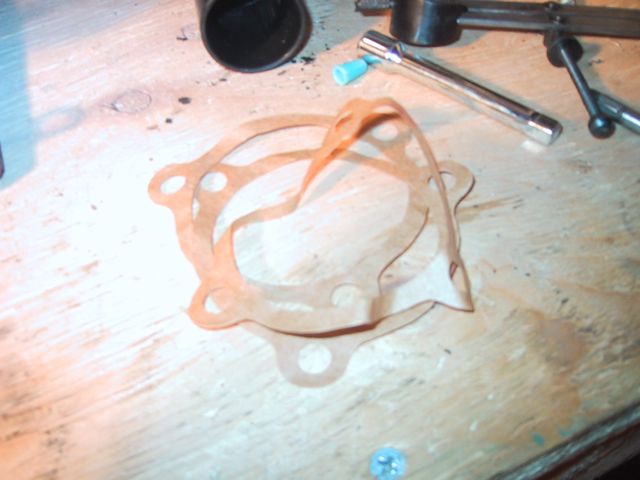
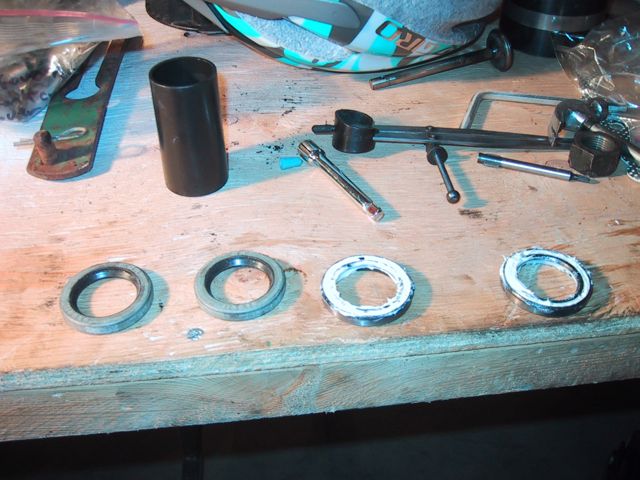
So here’s the gaskets they shipped (I had been wondering what these were for!)
Here they are placed on the bearing retainer. I decided since, obviously my existing bearing retainer gasket (a rubber ring around the base of the bearing retainer) must be totally smushed, allowing what seemed like no play, I’d go for broke and use all three..
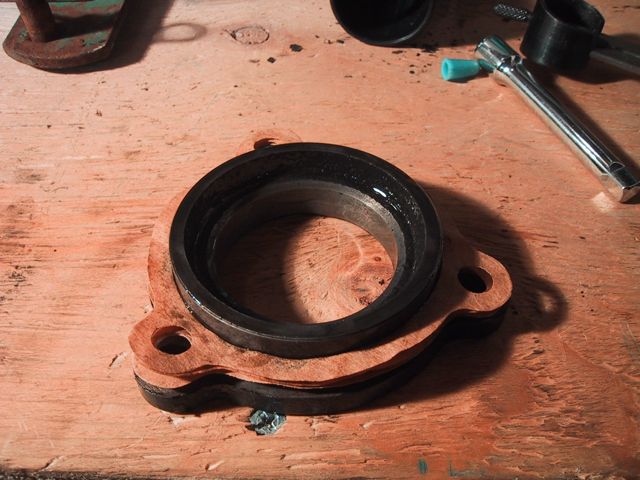
Then, onto the oil seals… Hey, guess what I found when I looked in my gasket kit! DOH! Oh well, lotsa spares…. Maybe they’ll fit the kohler on Ernie…
Flywheel side went in really nice with my piece of tubing and the rubber mallet.
PTO side was a bit more of a challenge, as I didn’t have a long enough piece of tubing. So, careful tapping around the outside of the tubing to set the seal in the hole, then putting it in the rest of the way with my “drift” (aka socket extension, since my drift has (ha ha) “gone adrift”!).
So, stay tuned for the next episode, where I start looking at valve gapping, lapping and installing! |


-
Recent Posts
Recent Comments
- littletractorguy on Got the rototiller all mounted up on Wally
- Bill Collins on Got the rototiller all mounted up on Wally
- littletractorguy on An update on Ernie…
- Tim Boyd on An update on Ernie…
- littletractorguy on All My Deeres are finally home!
Archives
- May 2019
- May 2018
- October 2017
- May 2017
- June 2015
- April 2015
- October 2014
- July 2014
- May 2014
- April 2014
- March 2014
- February 2014
- January 2014
- November 2013
- October 2013
- September 2013
- August 2013
- July 2013
- June 2013
- May 2013
- April 2013
- March 2013
- October 2012
- September 2012
- August 2012
- July 2012
- June 2012
- May 2012
- April 2012
- March 2012
- February 2012
- January 2012
- December 2011
- November 2011
- October 2011
- September 2011
- August 2011
- July 2011
- June 2011
- May 2011
Categories
Meta
Blogroll