Another test run… two steps forward, one back…

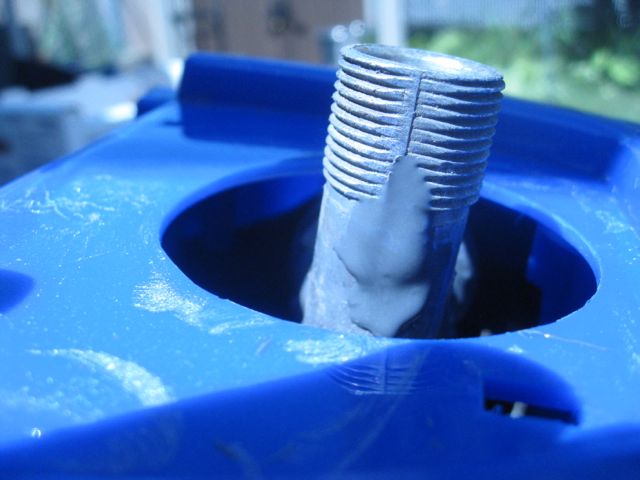
Well, didn’t get the kind of time to tractor this weekend that I’d been hoping to. LTGal picked up an unexpected shift at work this weekend, so she was at work all weekend, TractorGrandma was outta town at the cabin, Kidlet #1 and #2 were both tied up, as were my alternate kid-sitters, AND I was totally slammed with work as we’re heading into a new class term tomorrow… Sooo… most of the weekend was me hammering away at work-related things while LTBabe entertained herself with NetFlix (for some reason, I just CAN’T get the My Little Pony theme song out of my head! ). However, Kidlet #1 came home this afternoon to do laundry and agreed to look after LTBabe for a while, I’d gotten my head above water, so out to the garage I rushed! First of all, I rerouted the throttle cable, as, based on Walter’s pix, I was pretty sure I had it running wrong. I pulled the battery case and the dashboard, then pulled the throttle cable back and fed it through the rubber grommet like the choke cable. That gave me several more inches, AND removed it from the vicinity of any electrical. Strapped the dash and the battery case back on, put the nicely newly painted gas tank on, WITH the handy new style of shutoff valve… Had to break to take LTGal for supper after a hard day at work (mmmm Pad Thai and green curry!), then came back and inspected things… Something seemed wrong with the throttle linkage, it was binding up behind the air cleaner, so I checked the manual… I’d put the governor arm together backwards. So pulled it off, flipped it around, hooked everything up, dropped a battery in, added some gas, and

two steps forward, one step back!

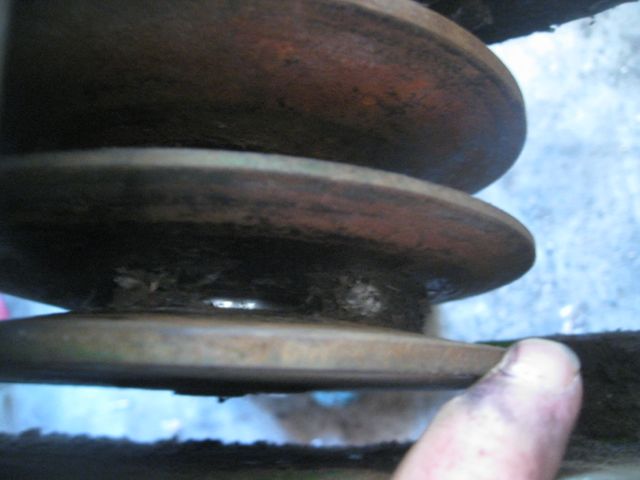
One thing I’m worried about, I’m finding oil on the front of the engine, underneath the breather tube. Wonder if my breather is haemorrhaging oil? What do I do about it? And maybe nights this week, I can dig back into the electrical system….


Posted in Bror | Tagged , | Leave a comment

Well, its been a long time a-comin!

Well, the moment (moments) you’ve all been waiting for…

Testing my safety switches

First try with gas!

Things didn’t work to begin with, so took a supper break, then came back to it

So… Whatdya think?

I think I’ve got a bit of a bungup in that nice carb, because it runs rougher with no choke… And I’m worried about how hot it runs… And that my gen light is on all the time…

Posted in Bror | Tagged , | Leave a comment

Building an electrolysis tank

For some reason, I seem to be collecting a whole lotta rusty old tractor parts… And I don’t have a big enough compressor to run a blaster.. So for some time, I’ve been thinking about an electrolysis tank, something like what was posted on MTF a couple years back…Well, imagine my surprise when LTGal was very KEEN on me putting together something like that! Little did I know that SHE wants to de-rust some old cast iron frying pans! So, after reading up on the setup here, I decided I’ve got enough bits and pieces lying around that I should try this out…

Here’s the tub I’m going to try it with:

Here’s my anodes and my long cathode (leftover pieces of the 1/4″ flat stock from my barn door project).


Now, I DON’T have a welder (well, I DO, but I don’t know how to run it, nor do I have a 20 amp outlet to plug it into) so instead I drilled holes in the stock and put bolts through, that I’m going to use 12 gauge ring connectors on


Strap the anodes to the sides, fairly far down so there’s no chance they’ll bash against the cathode.


12 gauge wire from each anode and the cathode,


trunk all the anode wires together on a bolt to connect to the positive lead of my battery charger


Next step (for tomorrow night, because its too lat tonight), take all the chunks of flat stock and bolts out and hit them with the wire wheel on the grinder to clean them up (I think the flat stock has some paint on it…) for good conductivity…

So we’ll see how it goes, for a first quick attempt. I wonder if:

  • Perhaps my tank is too big for something to start off with..
  • I actually have enough anodes to do real line of site
  • the 12 gauge wire is going to be substantial enough (except that my battery charger does’t have anything bigger than that, I’m fairly sure…
Posted in Tractor Repair Stuff | Tagged | Leave a comment

Tractor Deconstructionism

20130720-212125.jpg
Well, if anything, the fate of Cranky should help keep Wally in line!

There’s only about three more things to take off Cranky’s frame before he’s totally deconstructed, then a few more things to pull off the pedestal.  He actually packed down pretty well… The footrests, the linkages, most of the steering gear, and some assorted bits and bobs fit into that tote there.

Its really nice to have a tractor to just take apart to learn how it all works and fits together.  The next big decision is whether to start restoring Cranky’s bits so I can do a step-by -step exchange for Wally’s bits…  Think I need an electrolysis tub and a bigger compressor before I get serious on that!

Posted in Cranky | Tagged , | Leave a comment

A quick update on the pressure washer

Well, the repair was a total (ha ha) blowout!  If anything, its leaking MORE than before…  I COULD still use it, but I’d need the optional bathing suit.   I went out today and purchased a 10″ #2 Phillips screw driver JUST so I could take that puppy apart to see if I could find any information about the pump for obtaining parts for it… NADA!  Found some web sites that stock pressure washer pump parts… Guess which brand they DON’T carry?!?!  If you guessed Simoniz, give yourself a hand!

Oh well… The good news is, I put it up on Kijiji to give away for parts tonight and I already have a taker for it.

Posted in Tools | Tagged | Leave a comment

Takin’ Apart Cranky!

I began in earnest the process of stripping as much off of poor Cranky (my donor machine) as I could…. Started with the variator handle. as Cranky’s is in better shape than the one on Bror…

Getting this part off has always kinda stumped me, but I KNEW it had something to do with the roll pin in the base of the variator handle…

To make it easier to get to the roll pin, I took the quadrant off of the side of the pedestal so I could push the variator arm almost horizontal…

Then I figured out which roll pin punch it would be:

Got the roll pin started (bear with me, this is the FIRST one of these I’ve ever done, so I’m learning LOTS! Like hold the roll pin punch with a set of vice grips so you have something to use to tap the punch back OUT, and keep the punch soaked with PB-Blaster so you CAN get it out!)

Once I got the roll pin out, I used my el-cheapo 3 arm gear puller to pull the arm off the shaft… This is actually the FIRST thing it’s been useful for! Worked really well!

And voila! The variator shaft is exposed!

I DID get the variator pulley off as well, but THAT took a LOT more work! Pulled the steering column/steering box and the tie-rod ends too. Next I’ll pull the front rims, and as much of the lift linkage as I can. Wonder if I should pull the footrests just in case?

Posted in Cranky | Tagged , , , | 1 Comment

My FIRST JB-Weld Repair Job

So, having heard so much about JB-Weld on MyTractorForum, the great things it can be used for (“A tube of JB Weld’ll fix that tractor RIGHT UP!”  ), I figured I’d try it out…

The patient: A Simonize 1700s pressure washer, which formerly belonged to my FIL…


I know, not the GREATEST pressure washer in the world, but it was free…

Problem is, he didn’t winterize it, and kept it out in the garage over the winter … And so, when I fired it up, it shot high pressure water out of a crack in the fitting on the high pressure side of the pump.


I don’t know anyone close who would be willing to weld this, or has the hardware to… So I figured I’d gamble ten bux and see if JBWeld would do the trick.

Ground a channel along where I BELIEVE the crack is,

Then mixed up the JBWeld and slapped it in!


Now I’m just waiting the 14-16 hours for it to cure totally before I see whether it works….

Whaddyou guys think? Did I waste ten bux? Or will I come out of this with a working pressure washer??

Posted in Tools | Tagged , | Leave a comment

Back to work on Bror… Finally

Well, I didn’t get out as early as I would have liked this morning, but I got working on Bror again. It occurred to me where I had left off with him… I had decided last fall that it would be easier to put a new set of belts on him NOW while he’s somewhat apart… So I found my primary belt I’d bought back in 2011, and the secondary that I had bought thinking I’d be redoing Wally’s belts and I set to work…

Here’s a comparison of the belts


You can tell just by looking at them that the old ones are stretched…

So, while I had the belts off, I inspected the variator pulley…

I found that it was full of crud from having sat for years, but underneath the crud I could see shine…


So I cleaned the crud out, unearthed all the shiny then just for giggles tried to move the center pulley… And I could get it to move just a fraction of a mil, so I figured I should work on it…

So once I was comfortable with the variator, I put the belts back on… That’s a longer job than I would have anticipated, as its hard to fit the belts back on… Then I strapped in the engine (still have to tighten it) and put a steering wheel on…

So next steps:

  • Generator reinstallation
  • Gas tank reinstallation
  • The hydro pump…
Posted in Bror | Tagged , | Leave a comment

In search of the elusive loader…

Got out to mow this weekend, took a break behind the ramshackle warehouse…  I’d gotten a tip that the loader from my grandfather’s JD 112 was inside here…  So I figured I’d take a look…  Not that I’m ever going to GET it, but I had to see it…  Last time I’d seen it was 25 years ago, in my parent’s back yard

First off… Isn’t this guy just a beaut?!? Coulda used four of these for the door project!  Interestingly enough, this company is still in business… They make garage doors now.

Hmmmm… do I REALLY wanna go in there???


SURE!!!


(Wasn’t quick enough to get a pic of the great big feral tomcat that I scared the bejeebers out of when I got inside)…

First of all, can anyone tell me what THIS is? THINK its an MTD… Worth saving? I didn’t walk up to it too close because its on the wood-framed floor over the basement crawlspace, and you can’t see it from THIS picture but there’s some pretty severe sagging going on…

And now… the moment you’ve all been waiting for! Drumroll please!


A bit closer…

 
So… why don’t I just make off with it?!?!? Well, THIS might have something to do with it….

Pretty sure its gonna take a forklift….
Oh well, at least  it still exists! Here’s the best part… I’VE got the tractor mounting frame for it in my garage… So, even if someone else WANTED to use it, they couldn’t! Bwah-ha-ha-ha!

Posted in Uncategorized | Leave a comment

Getting closer to having doors

So, finally getting some time to make headway on the doors… Between my last post and this one, we obtained a 115″ chunk of bar, I drilled major holes in it (THANKS Mr. Drill Press!), painted it, cut standoffs out of a chunk of 1/2 pipe, painted the standoffs, made all the hangars (who knew I had a talent for freehand bending?!?), mounted them on the doors, discovered I’d mounted them upside down (on the bottom of the door), said screw it, we’re sticking with them that way, made LTGal do the measuring and marking of where the bar was to go…. TODAY… We drilled the pilot holes…

Moved the bar into place

Admired the nice holes

Then mounted the bar!
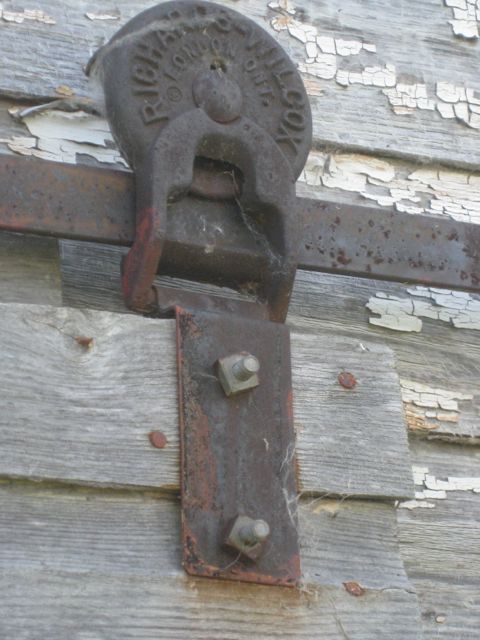
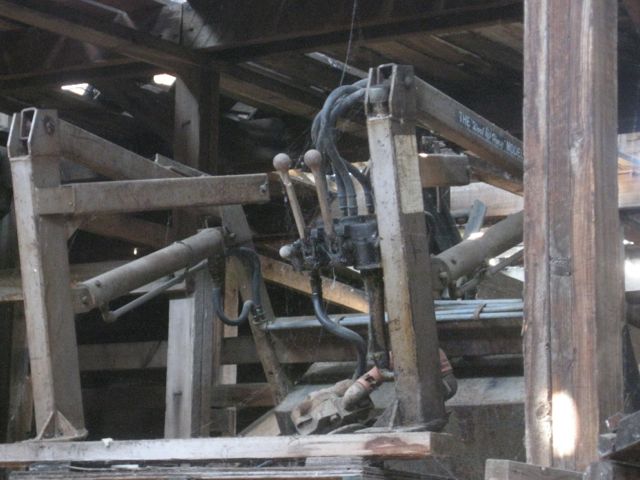
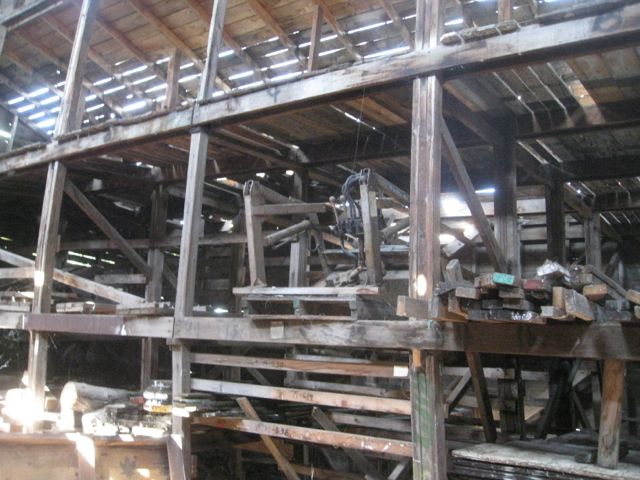
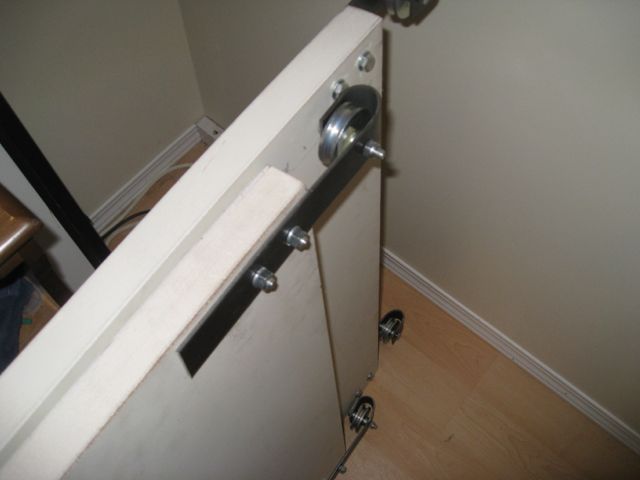
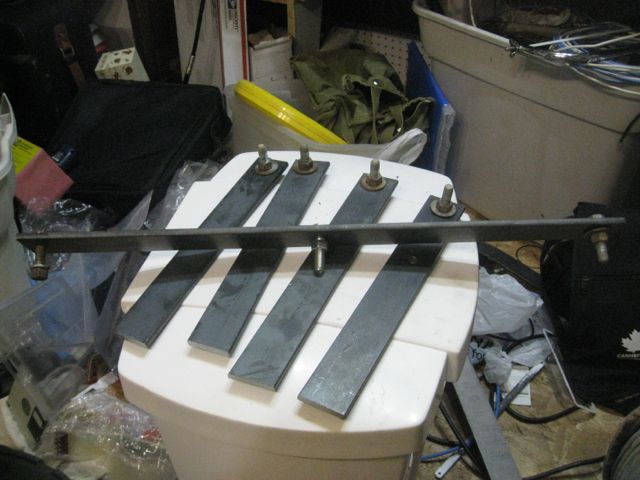
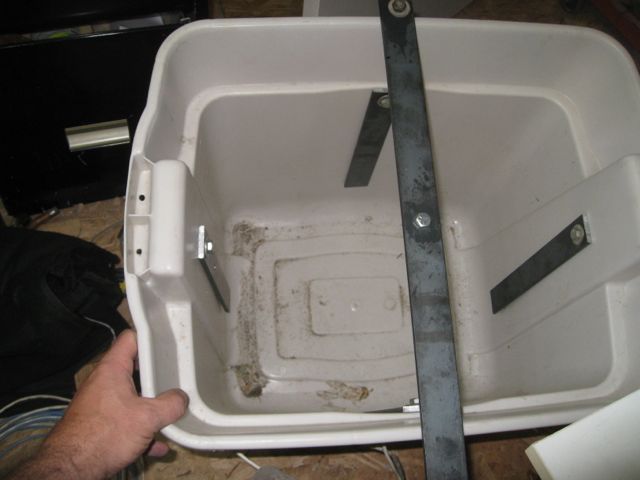
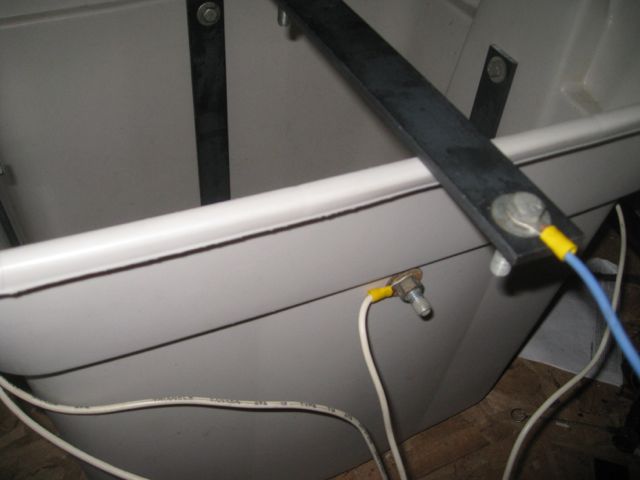
See my nice hangars?!?!

I gotta adjust the shimming in them, then clean them up a bit with the grinder and paint them…

Then we gotta plane a bit off the bottom of each door, because we’re about an eighth of an inch too low on the bar… DOH! 

Posted in Home Renos | Tagged | Leave a comment